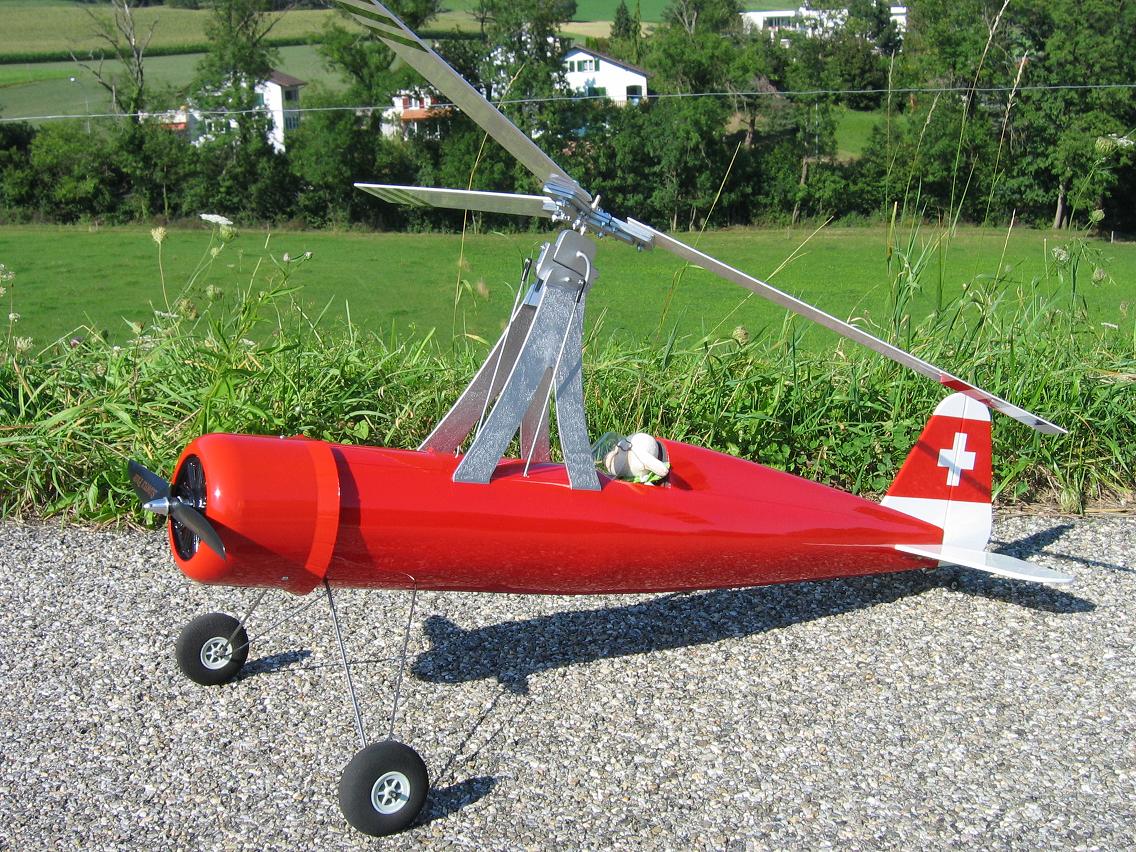
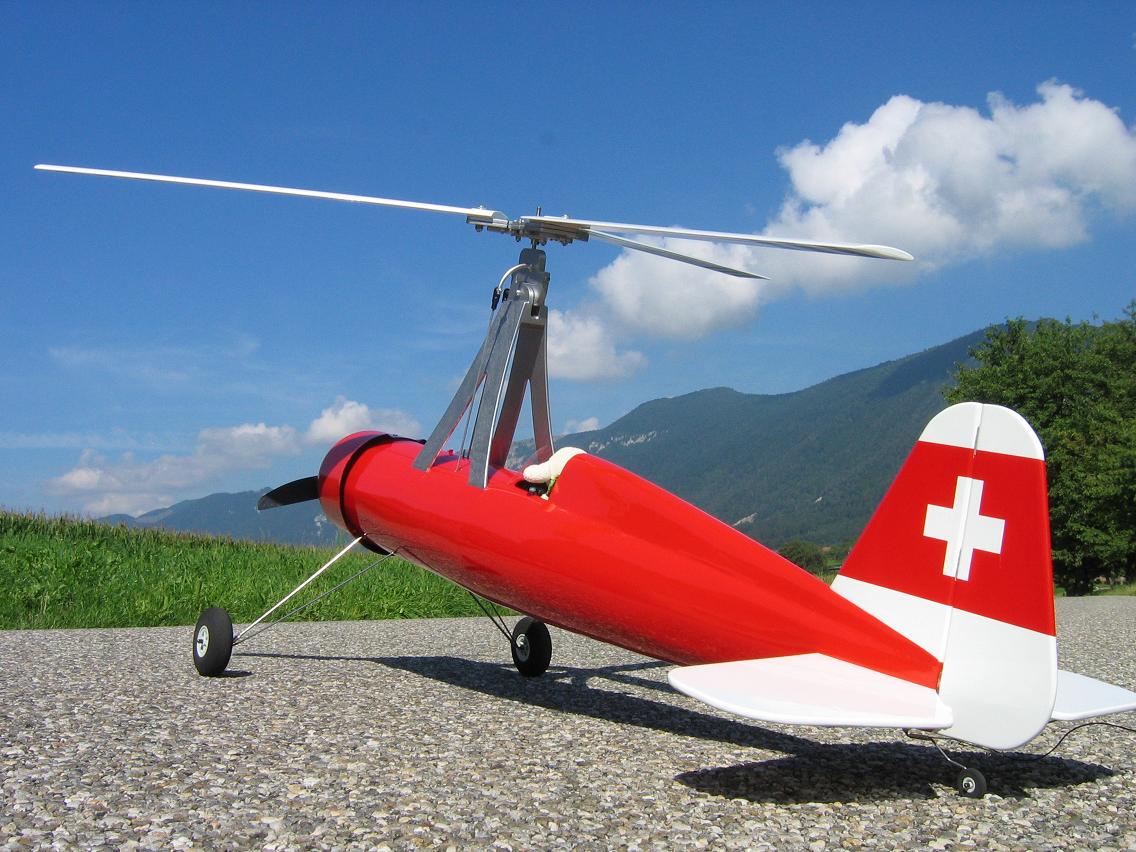
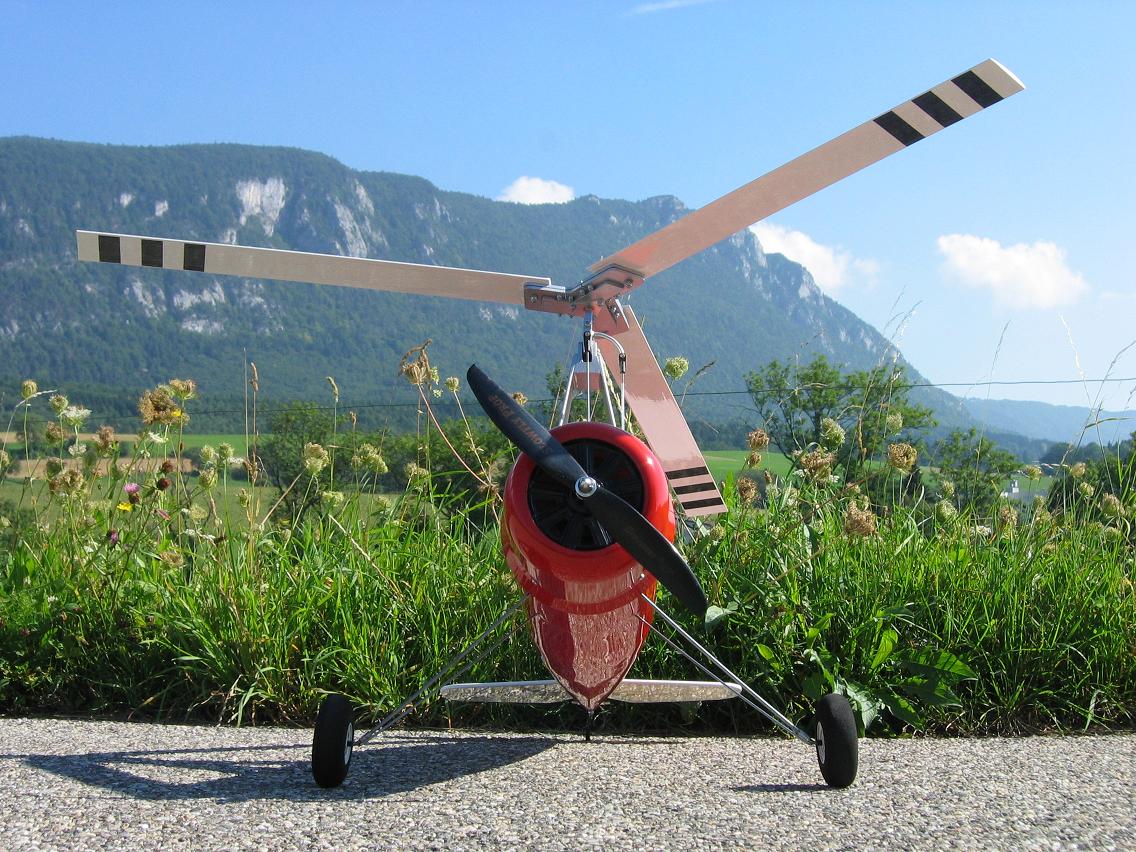
Here you can find the documentation of the construction phase of my Whirlywing autogyro. Informations about the design you can find here.
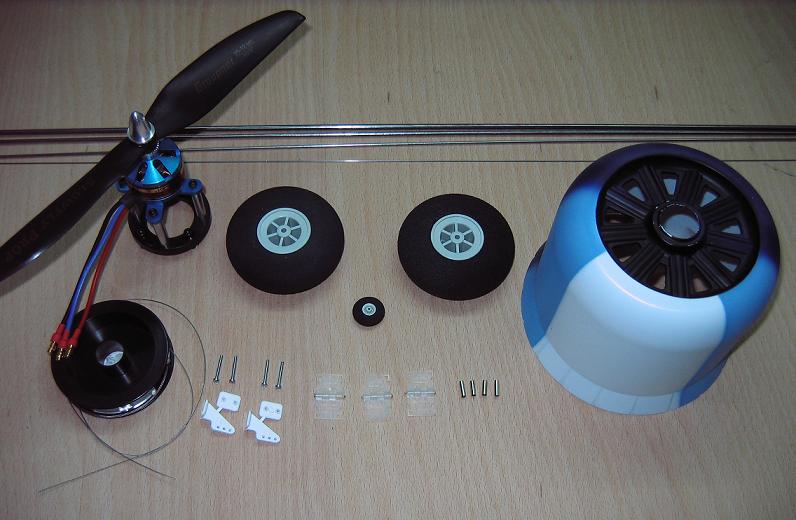
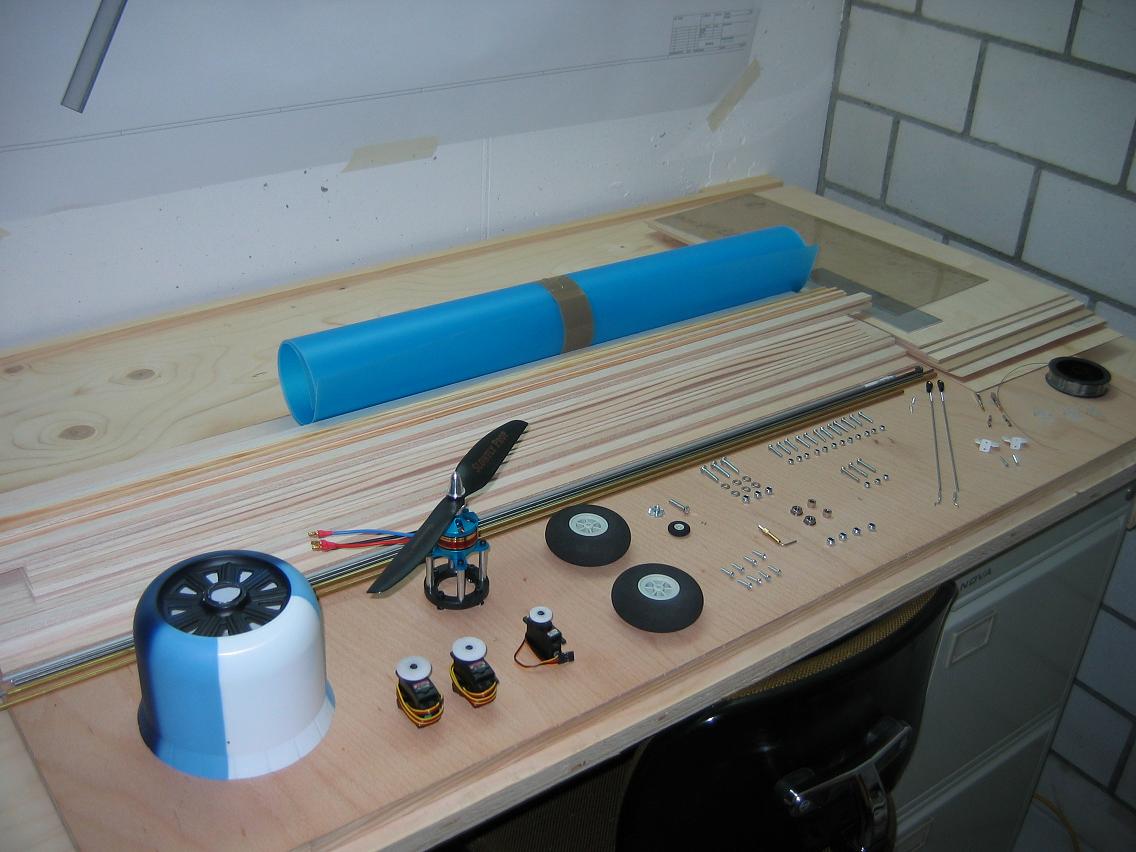
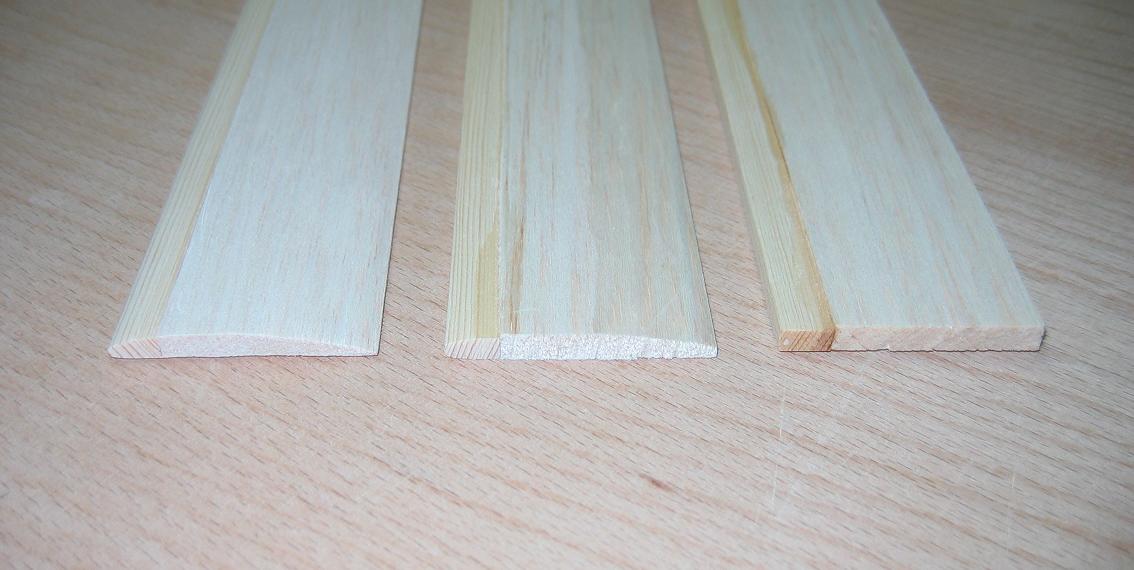
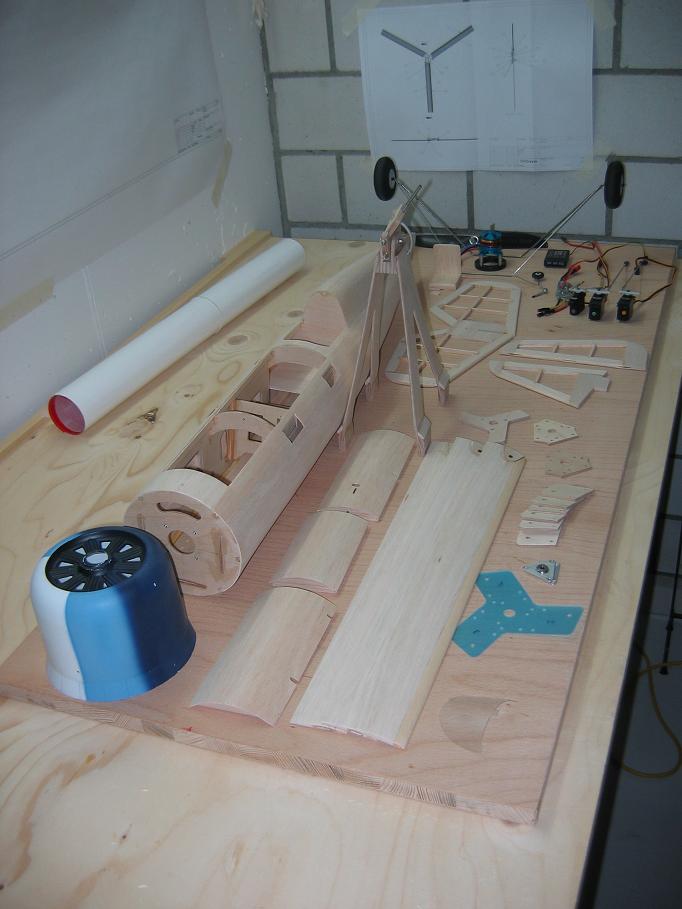
First material is available:
After an interruption caused by holydays and an intermediate project for my son the material acquisition is mostly finished.
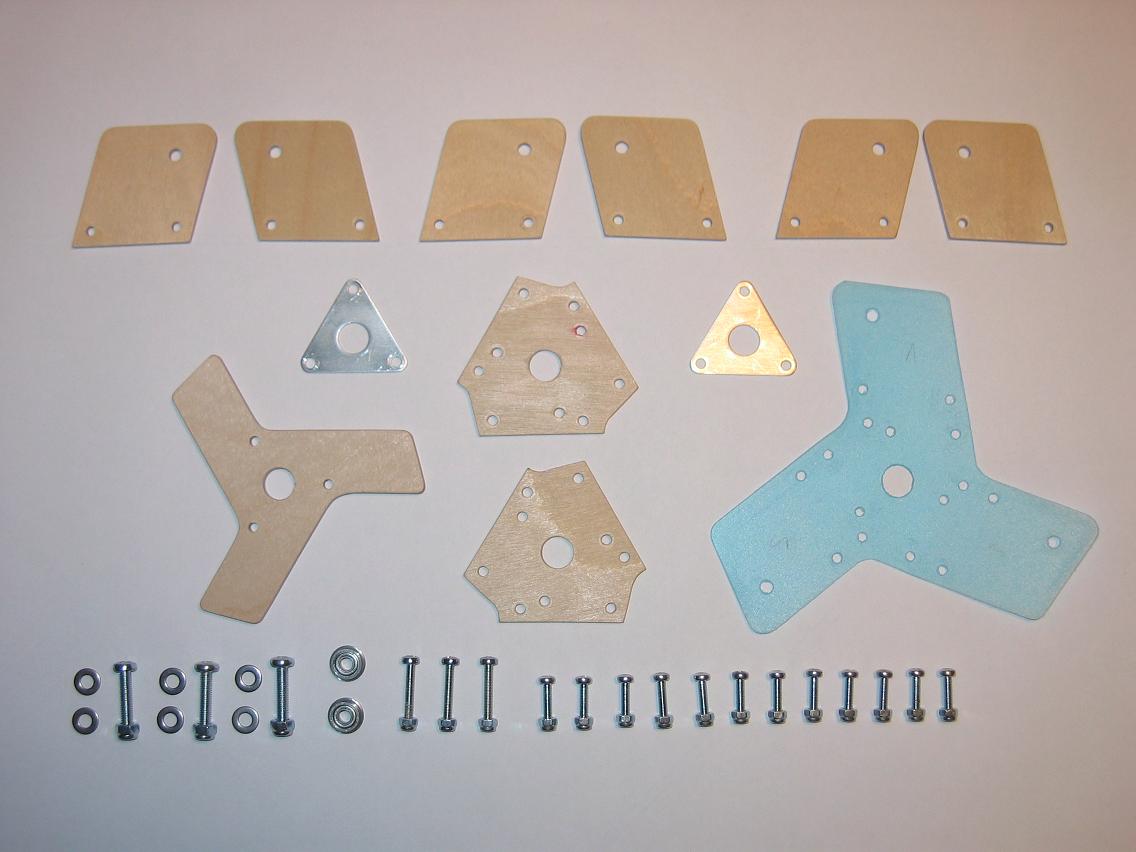
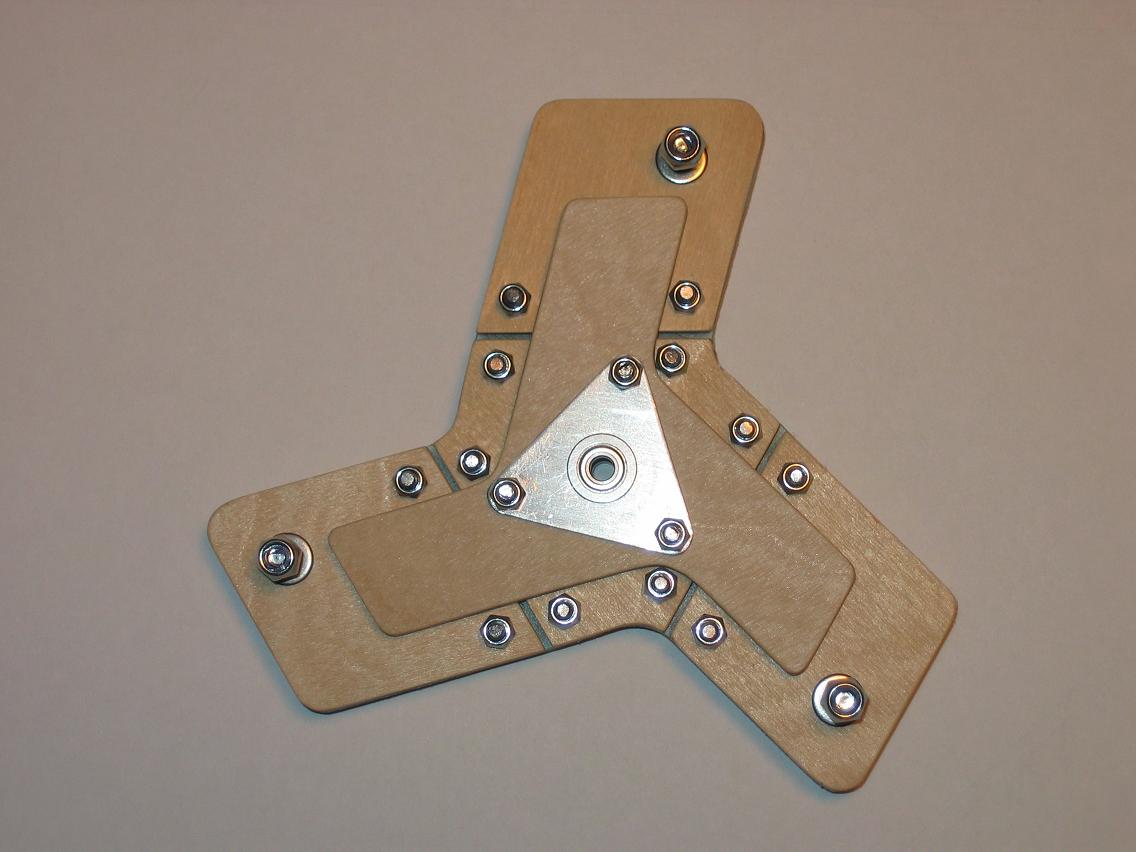
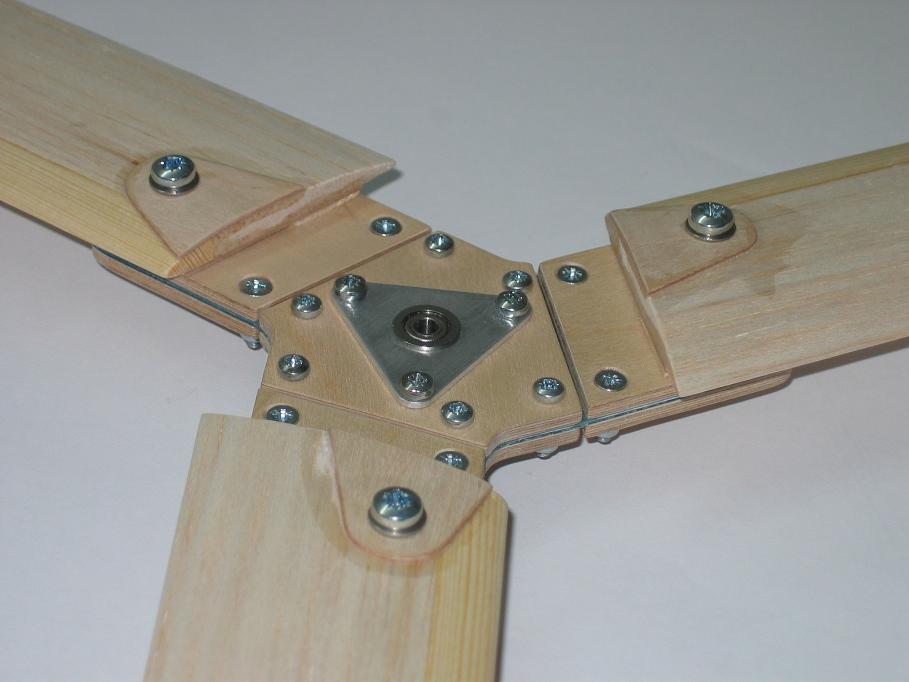
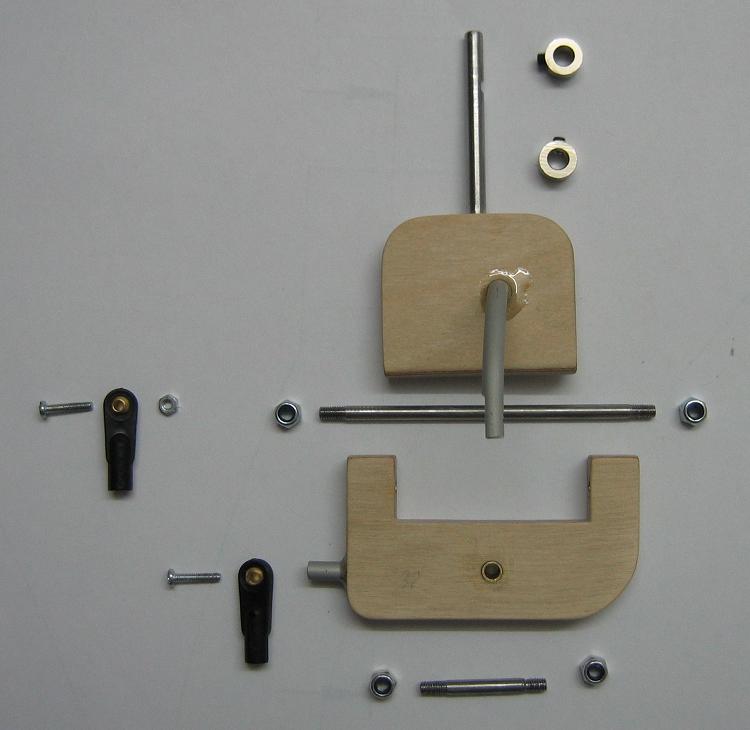
The rotor hub is done. There are quite a number of pieces:
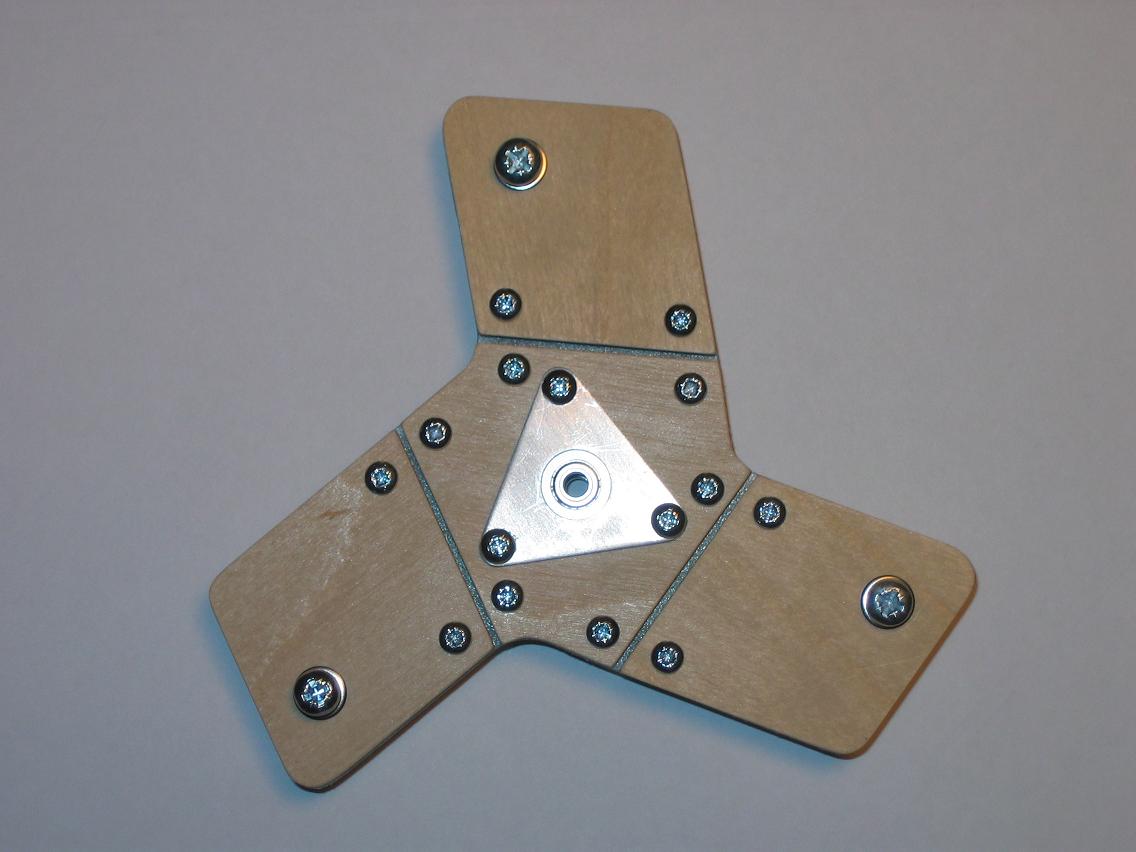
The assebled hub looks like this:
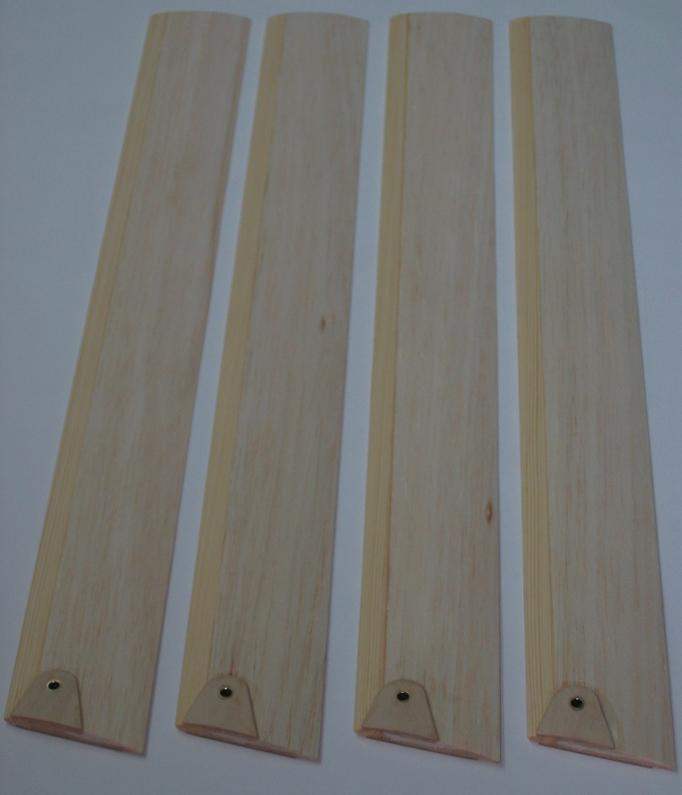
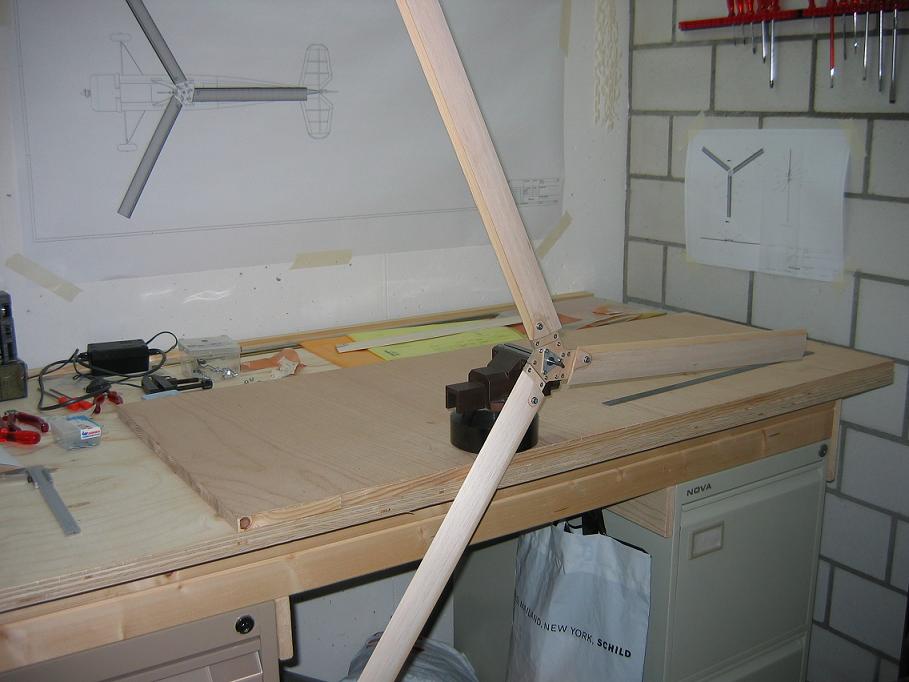
This is how the rotor blades are made:
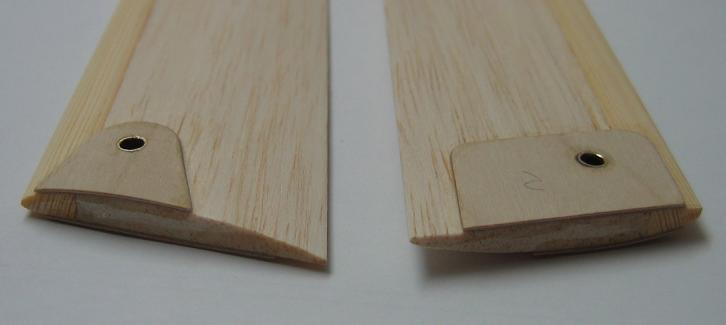
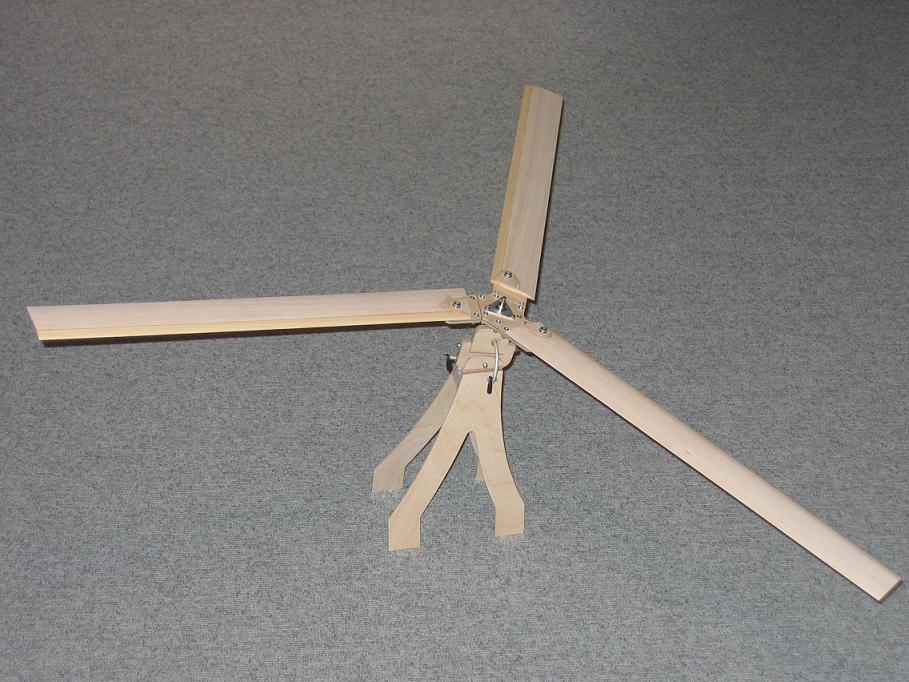
Done. The rotor is finished. Quite some balsa dust is produced until the blades are shaped. I made four blades because the material was there anyway. Now I have a spare blade (you never know). The attatchment points are reinforced with a tubular stiffener and wooden plates.
Balancing the whole rotor is crucial to avoid vibrations during rotation. With 150 g of rotating mass unbalances can produce quite some forces. Additionally I counterbored the screw heads of the blade holders on the hub to allow the blades to slew without collision with the heads.
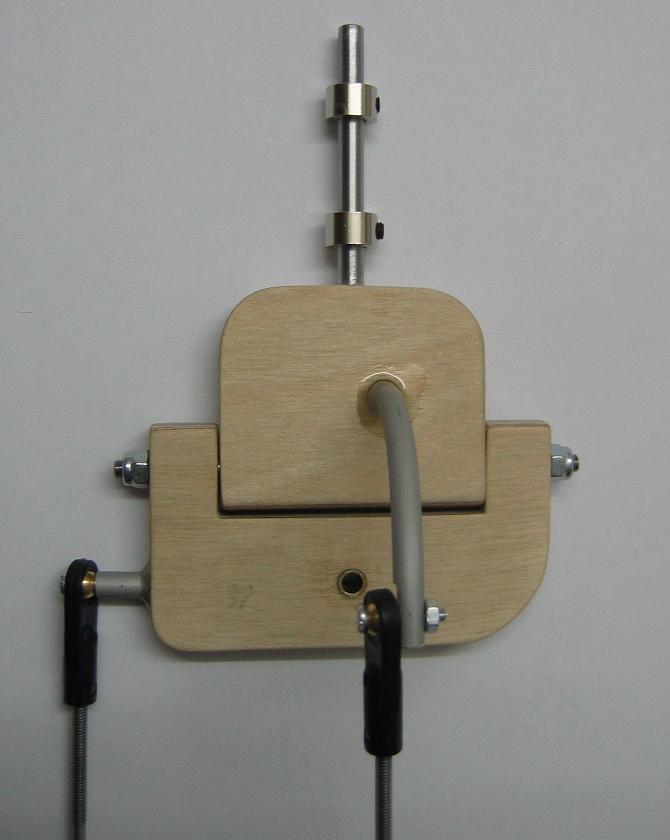
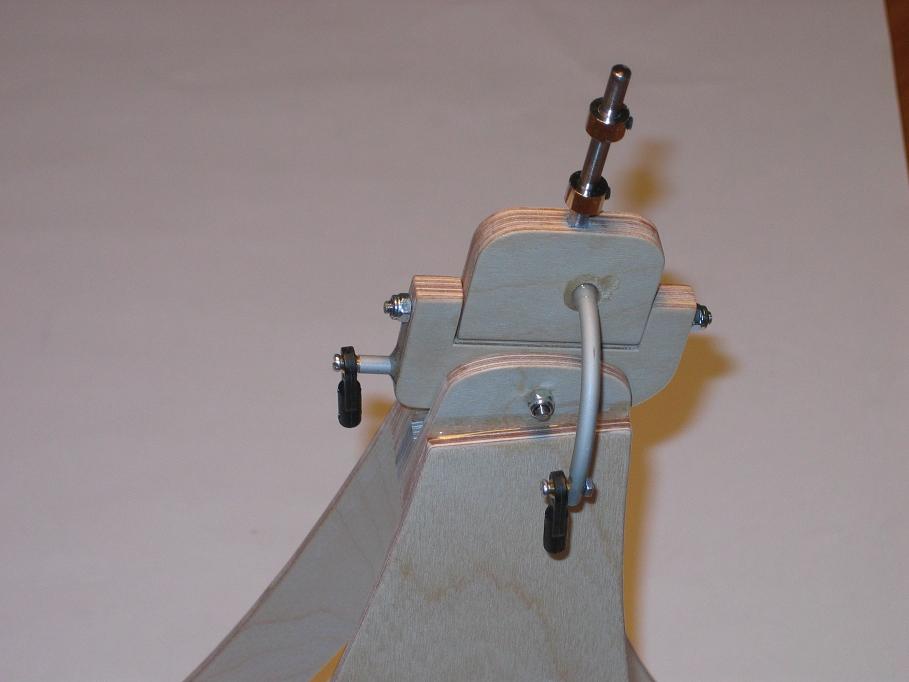
The next finished unit is the rotorhead. The linkages for pitch and roll control are made with ball heads.
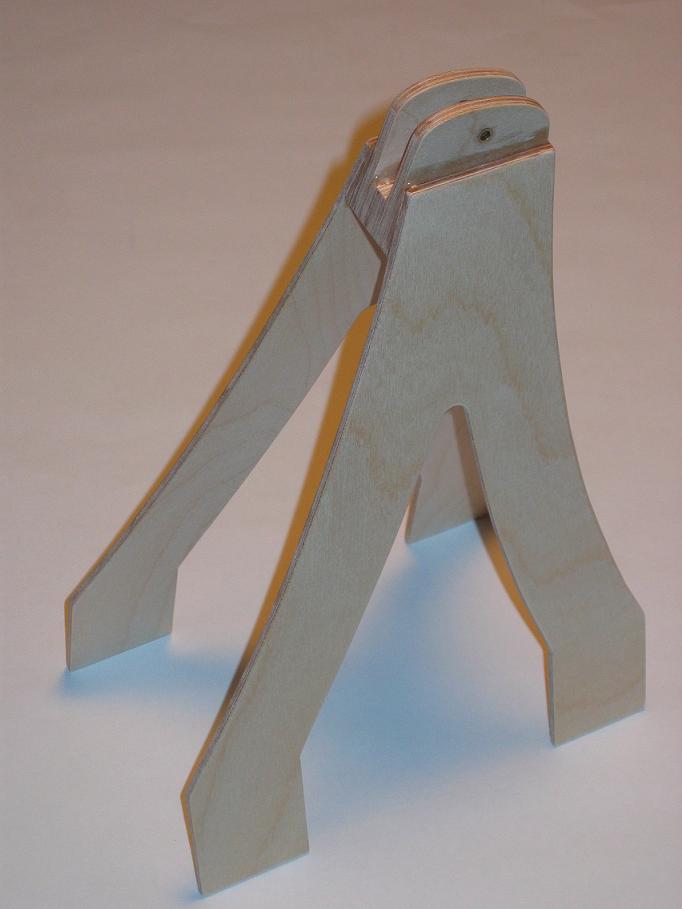
The rotor mast is accomplished except some filling parts to attach it to the fuselage.
The baby is growing:
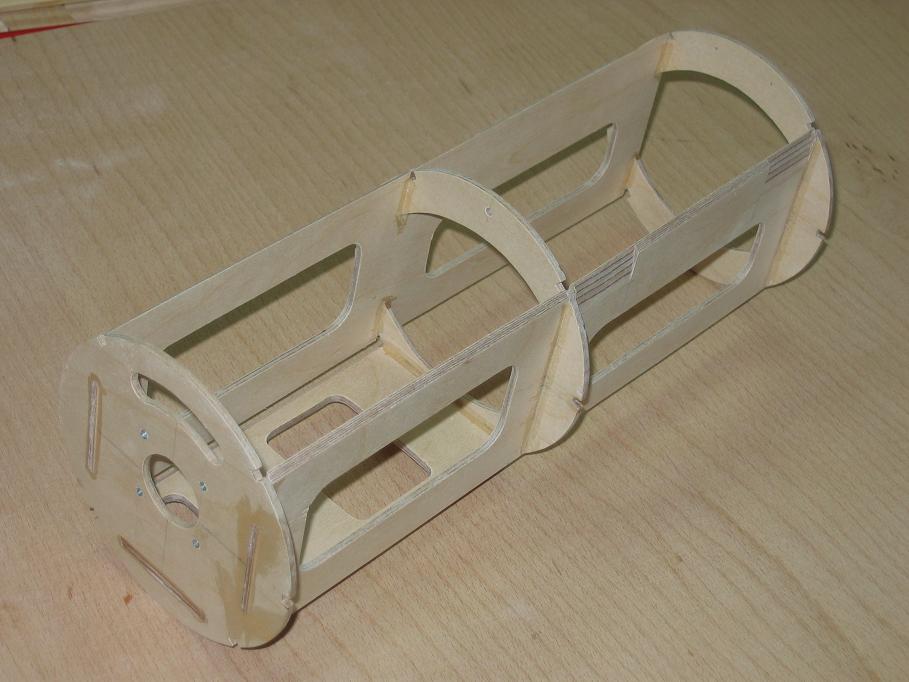
The main frame of the fuselage is built up and waits for extension:
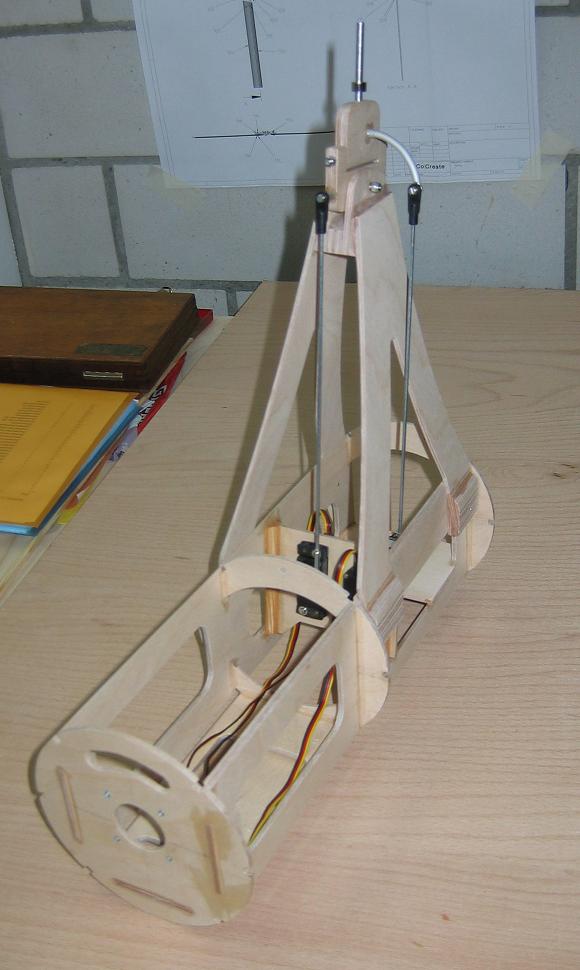
The rotor mast is fitting to the main frame now and the servos with the linkings of the rotor head are rigged:
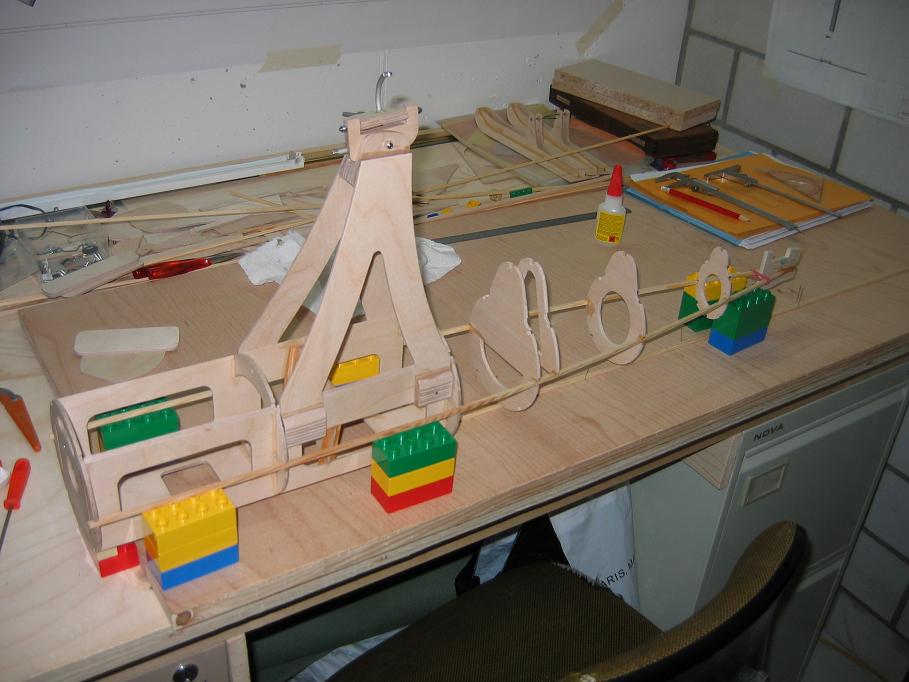
Lego bricks are very suitable to create a building slip:
The basic construction of the fuselage is mainly done:
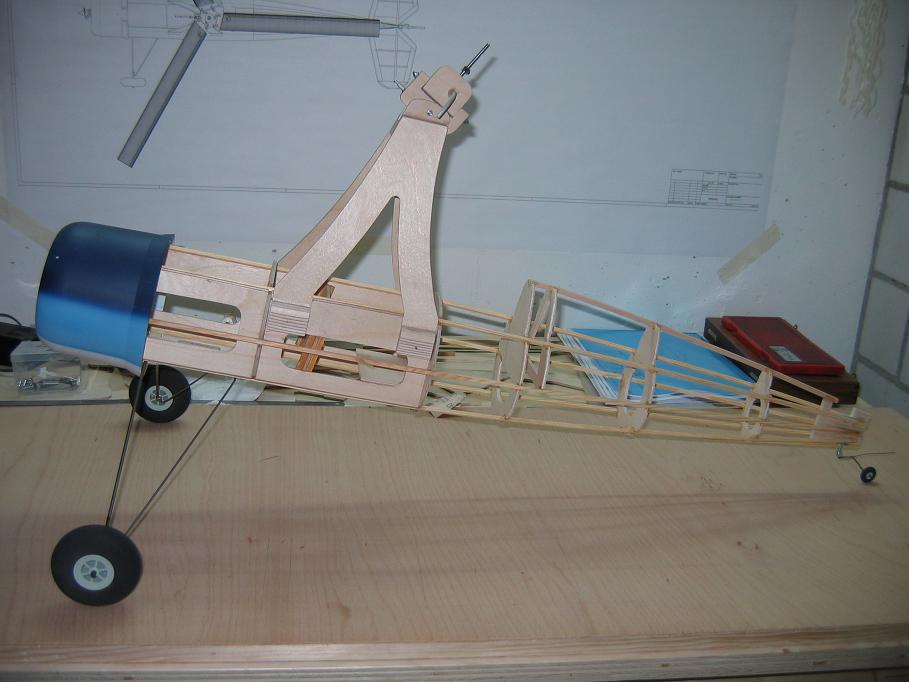
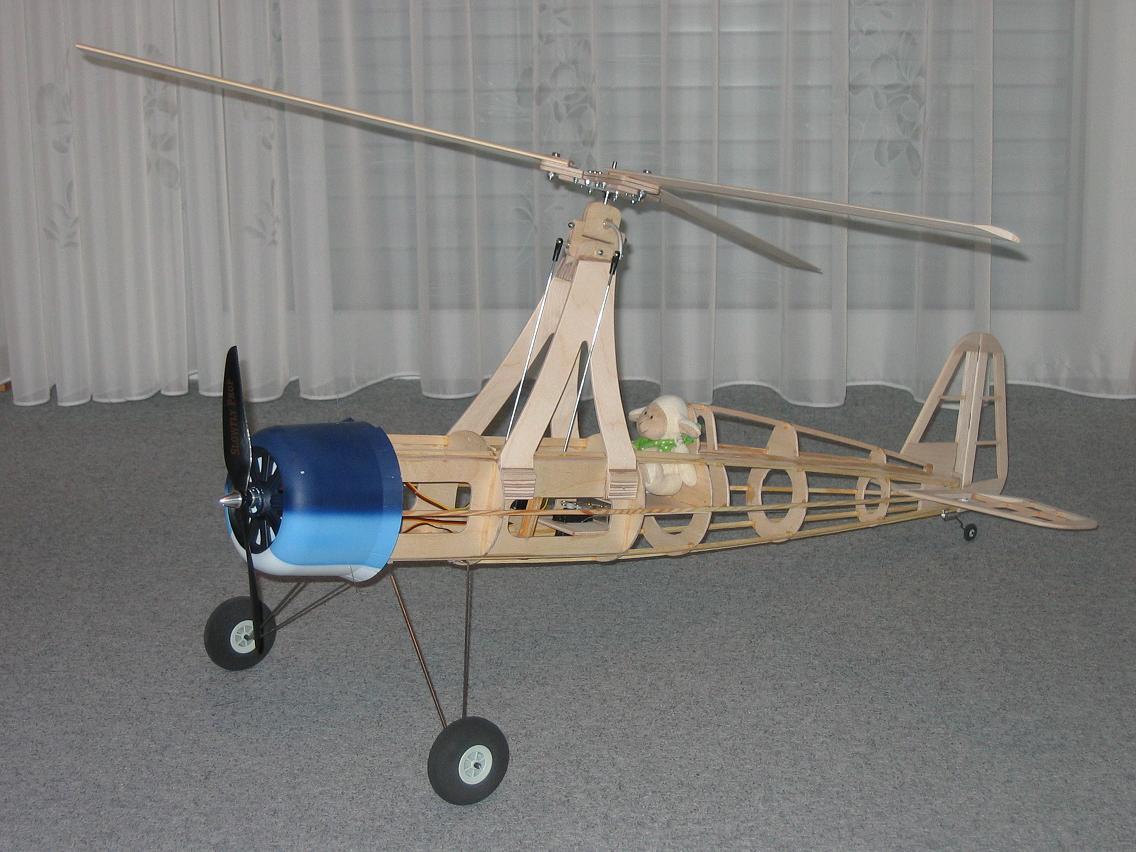
The Whirlywing is on its own feet for the first time:
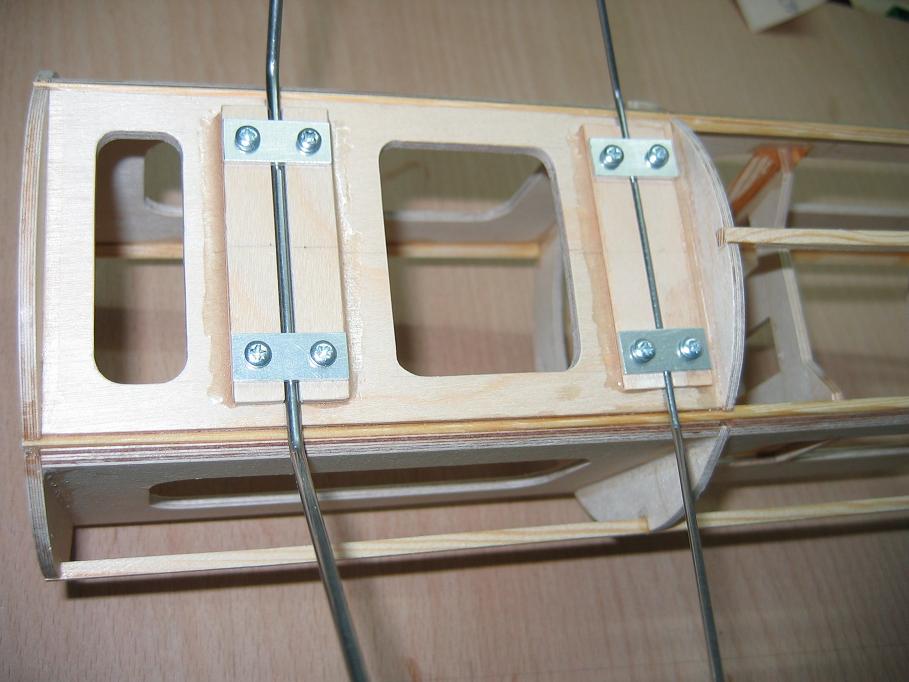
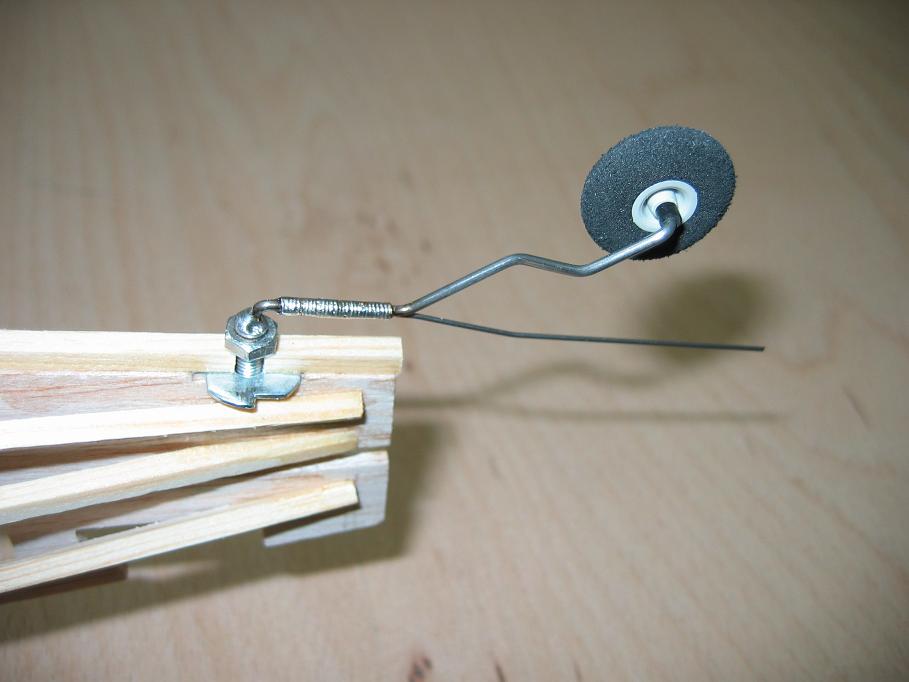
The main and the tail landing gear are fixed like this:
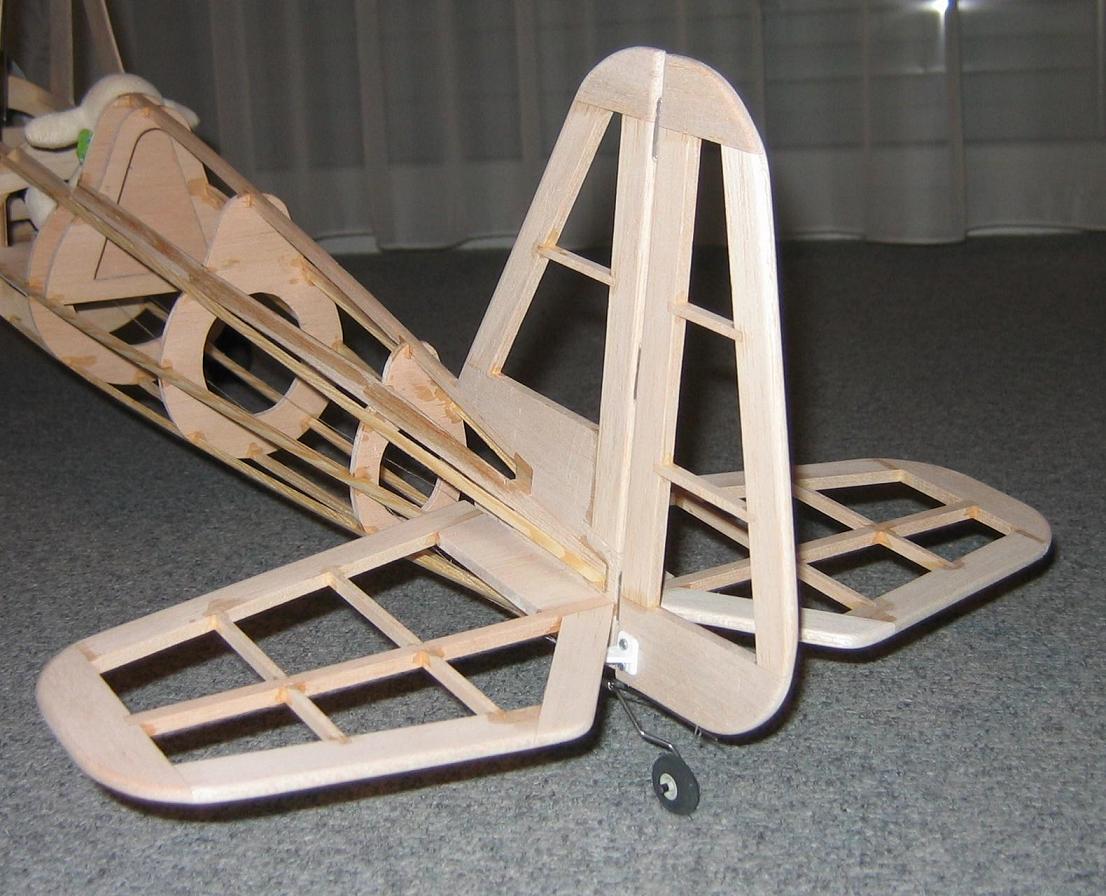
The stabilizers are ready...
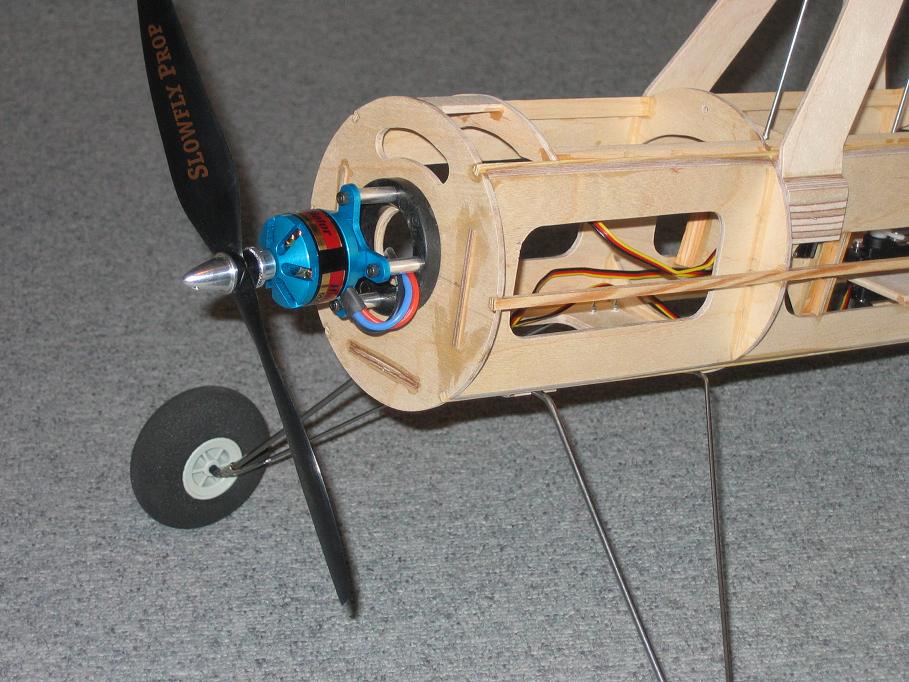
and the motor is mounted:
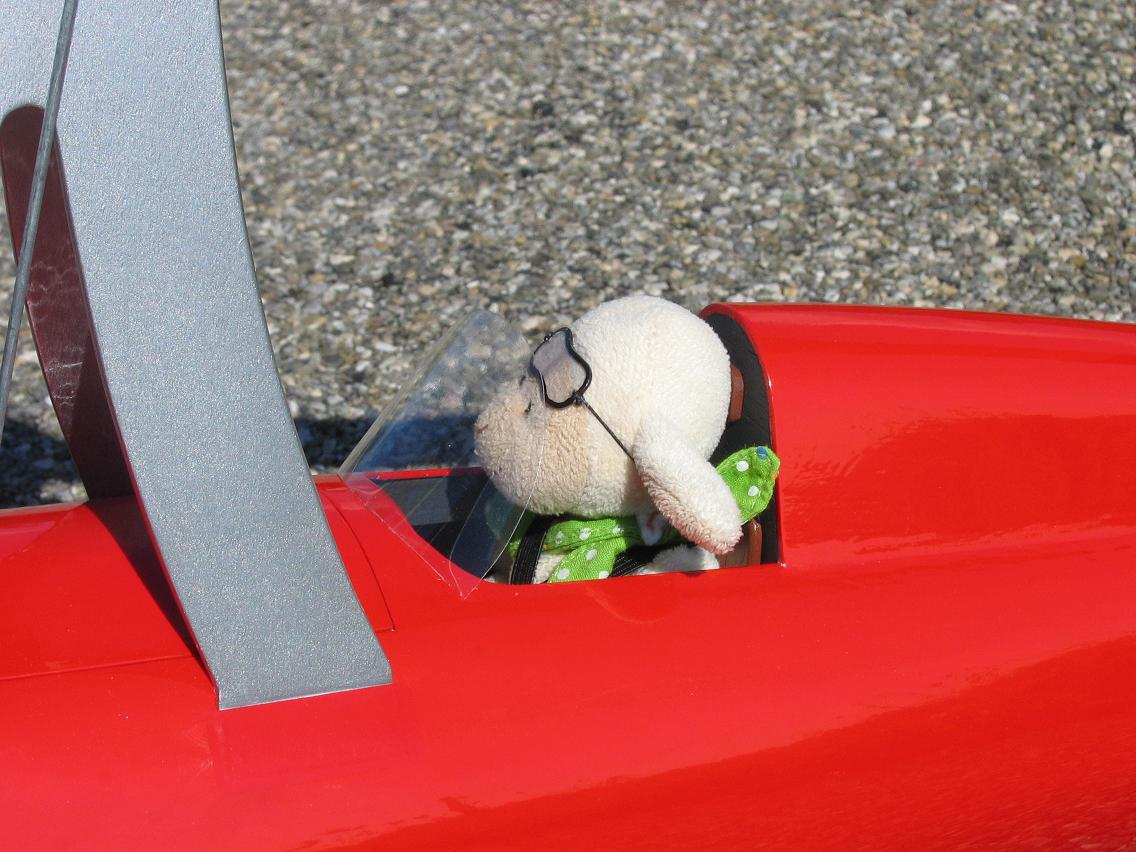
A first assembly attempt before planking the fuselage shall show if everything can be mounted correctly. A potential pilot already took a seat in the cockpit.
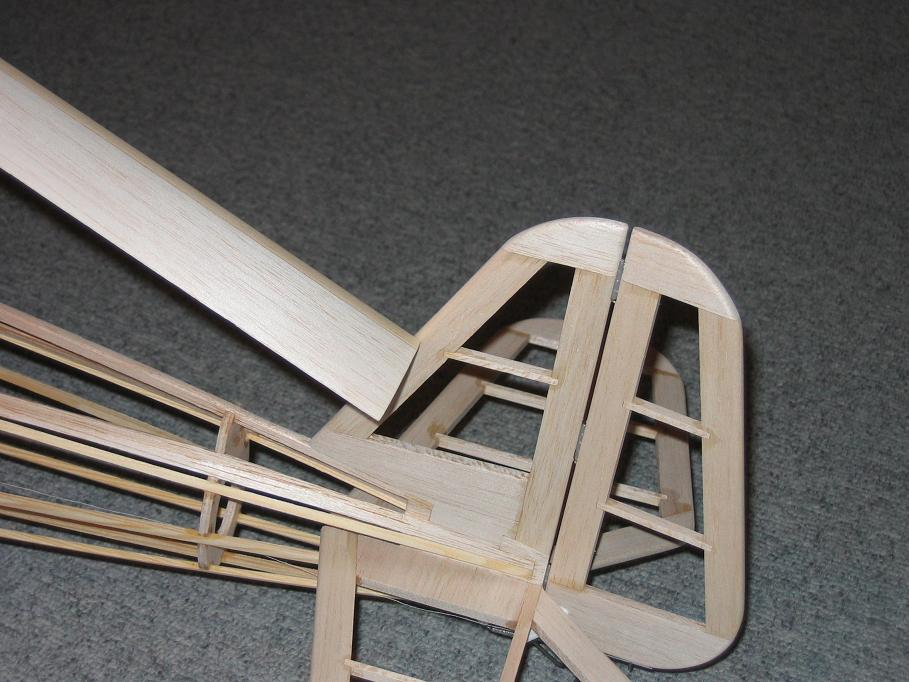
Oops: A design fault sneaked in. The rotor blades collide with the rudder. I will shorten the blades slightly. This will increase the rotor disk loading for about 4% which will hopefully not have serious influence to the flight caracteristics.
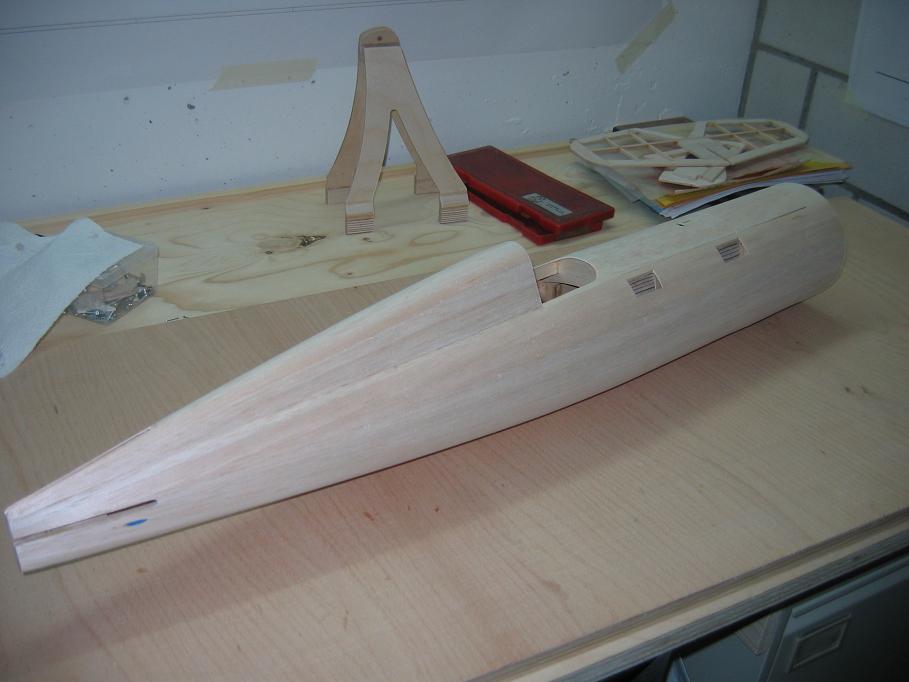
Finally the fuselage is planked:
Now the complete model can be built up for a final check before starting the finish.
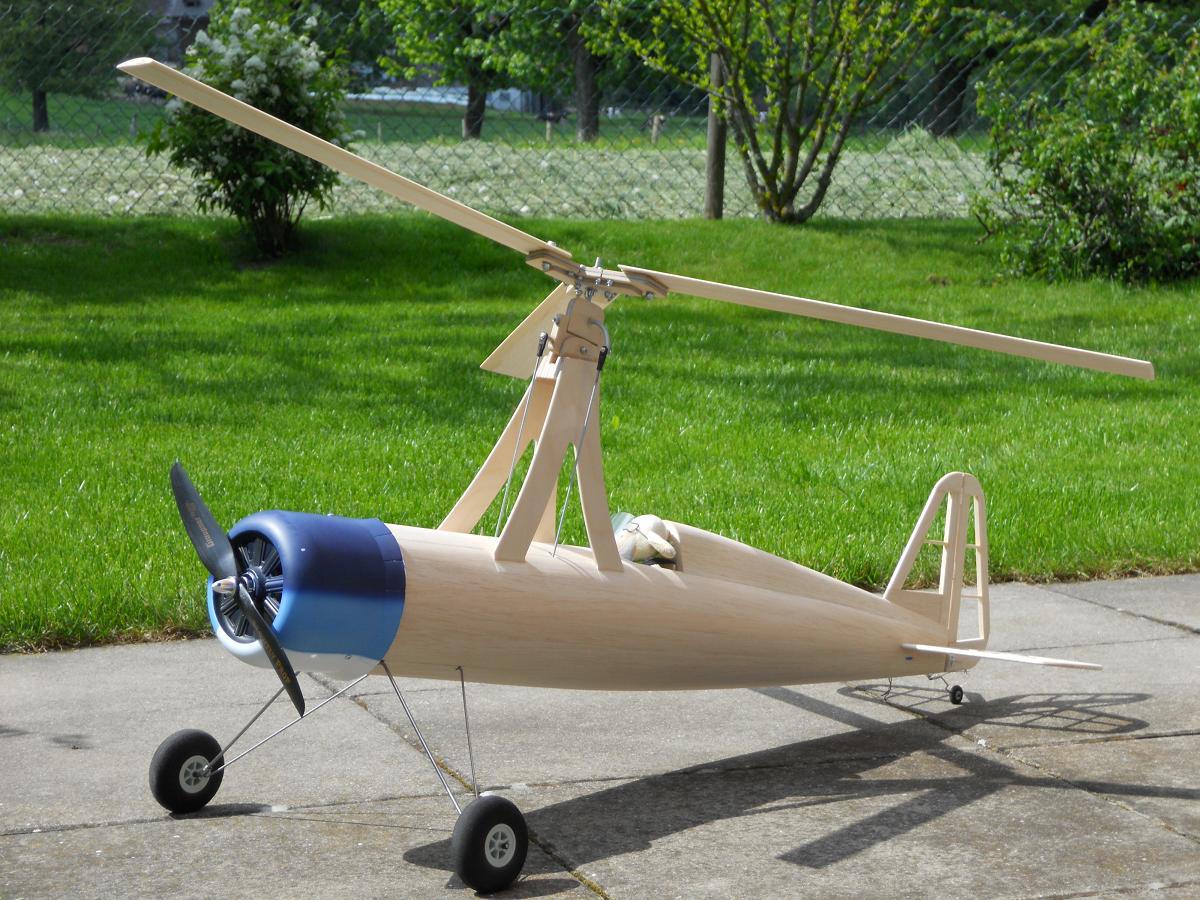
And this is how the machine looks like fully assembled:
Disassembly for starting the finish:
It is done. The Whirlywing is ready for maiden flight. Fuselage, rotor blades and stabilizers are coated with Oracover. The cowling is spray colored with Duplicolor 5-0550 car paint. This color shade matches best with the ferrari red of the fuselage.
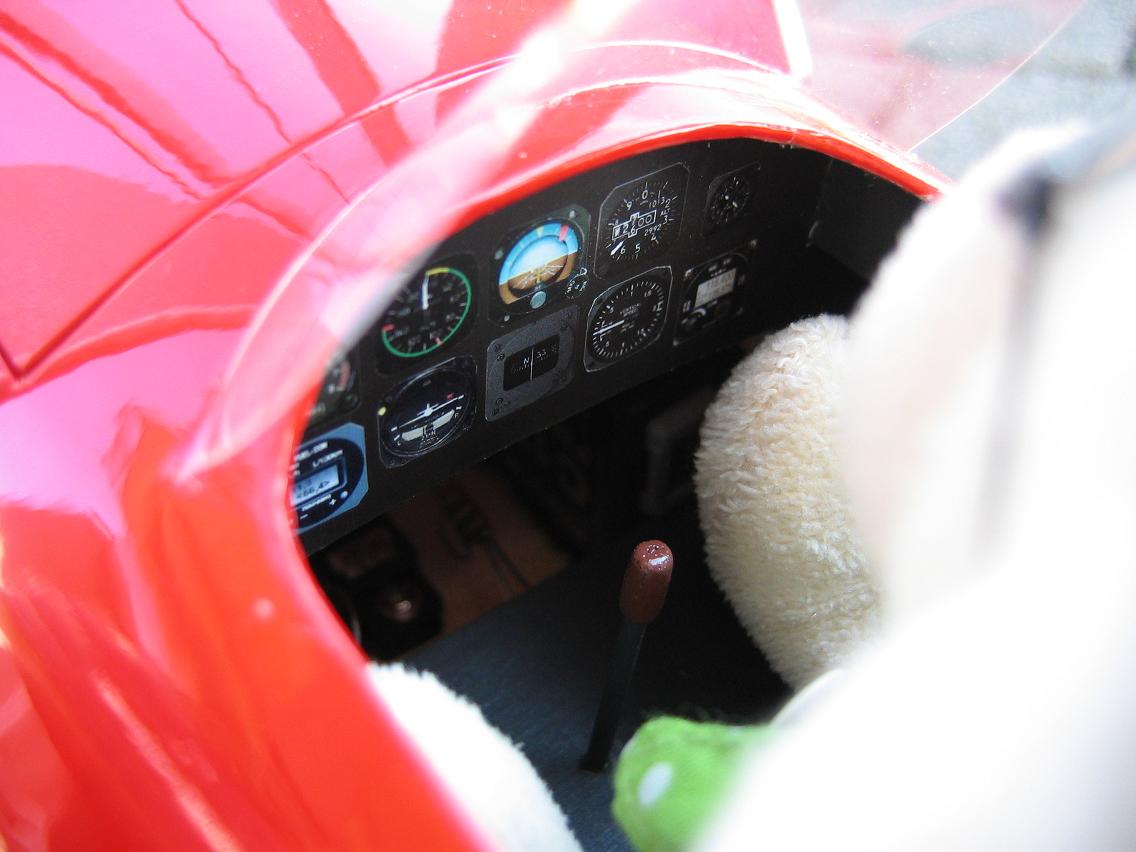
The pilot seems to feel comfortable in his cockpit:
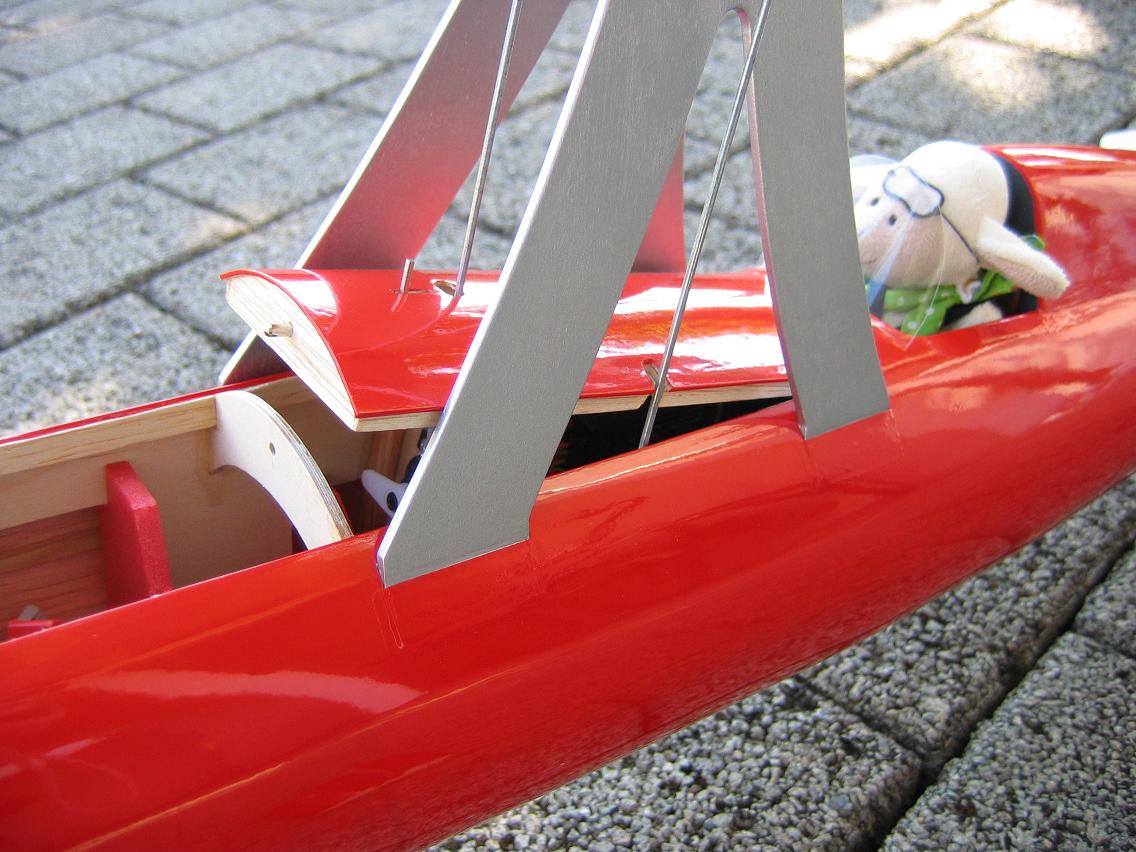
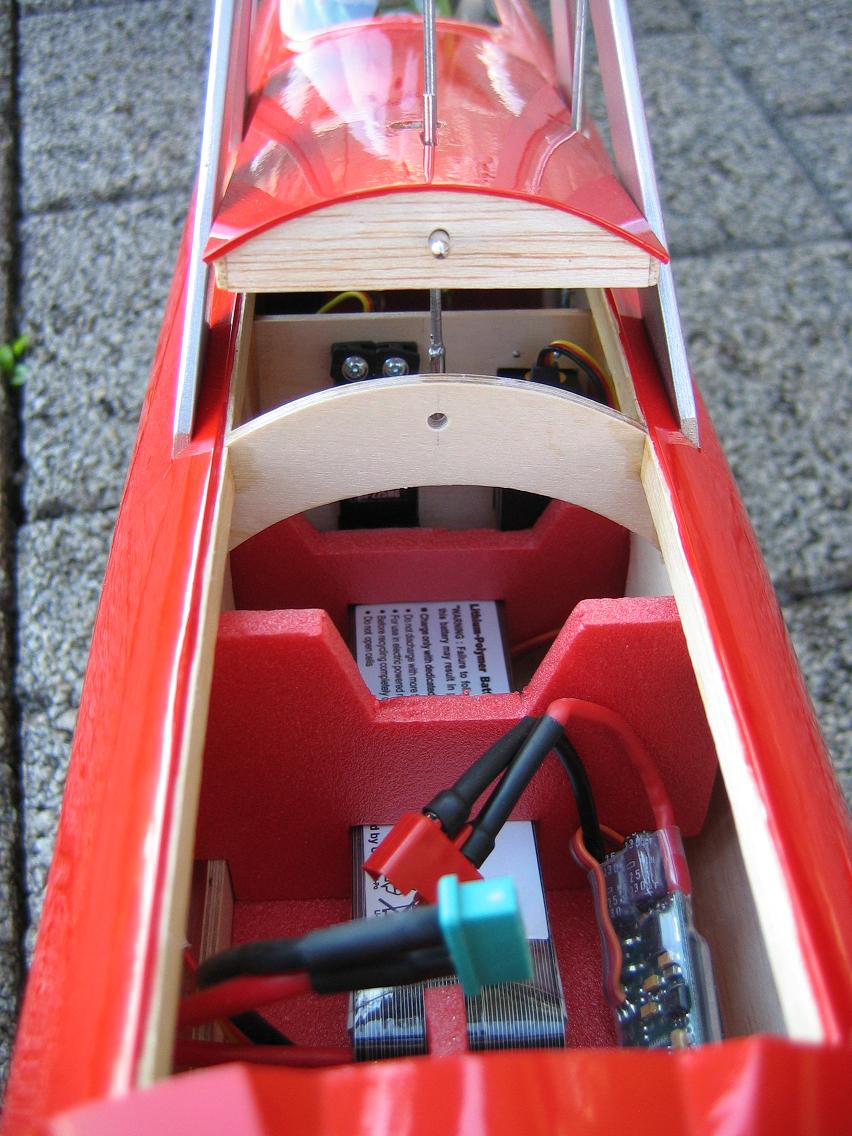
Through the top covers the access for maintenance is given:
Now some tests and dry runs will follow to get a feeling for the possible flight characteristics. Not till then the first flight experiments can start.
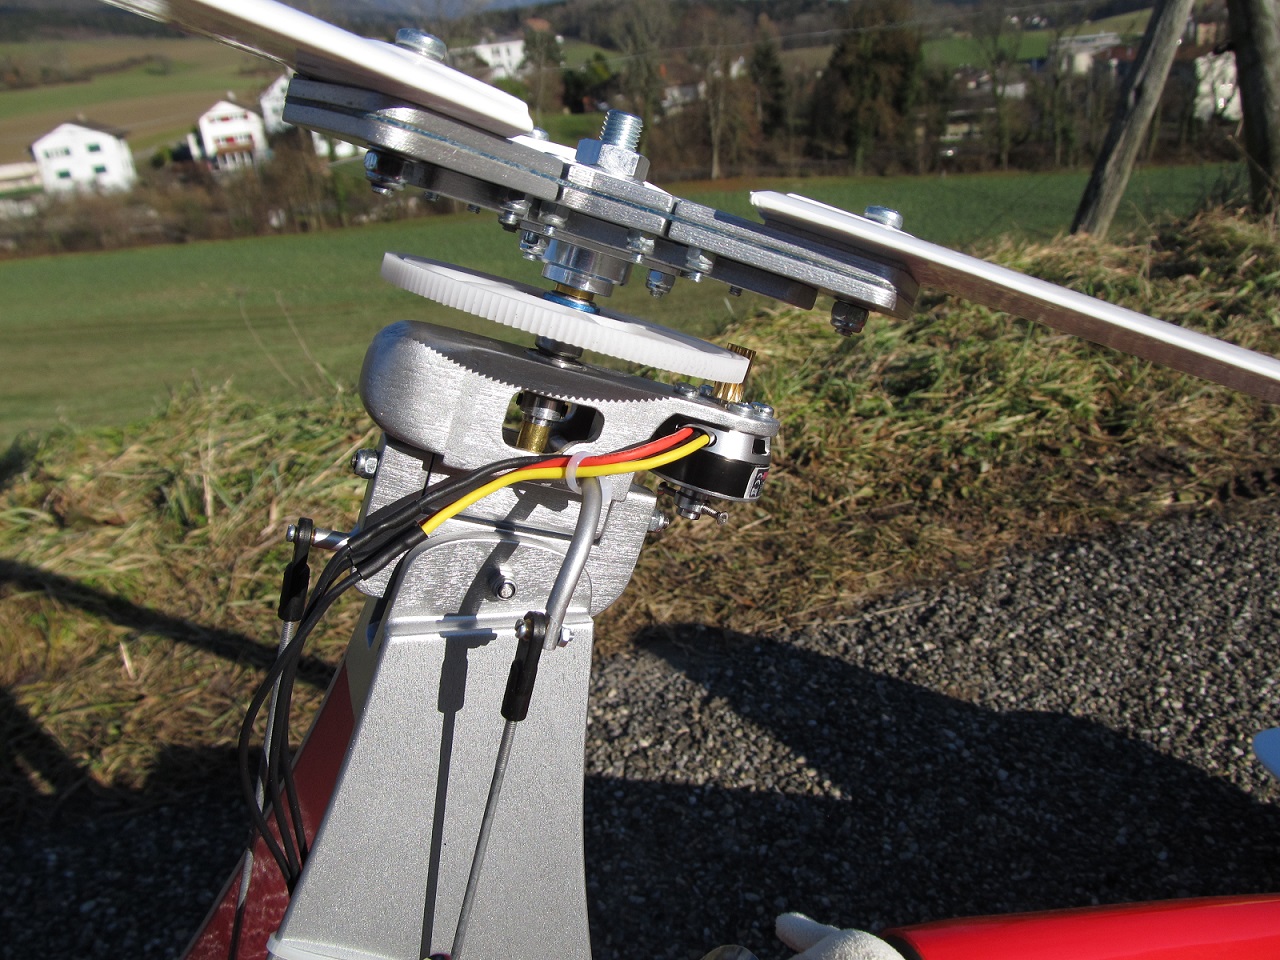
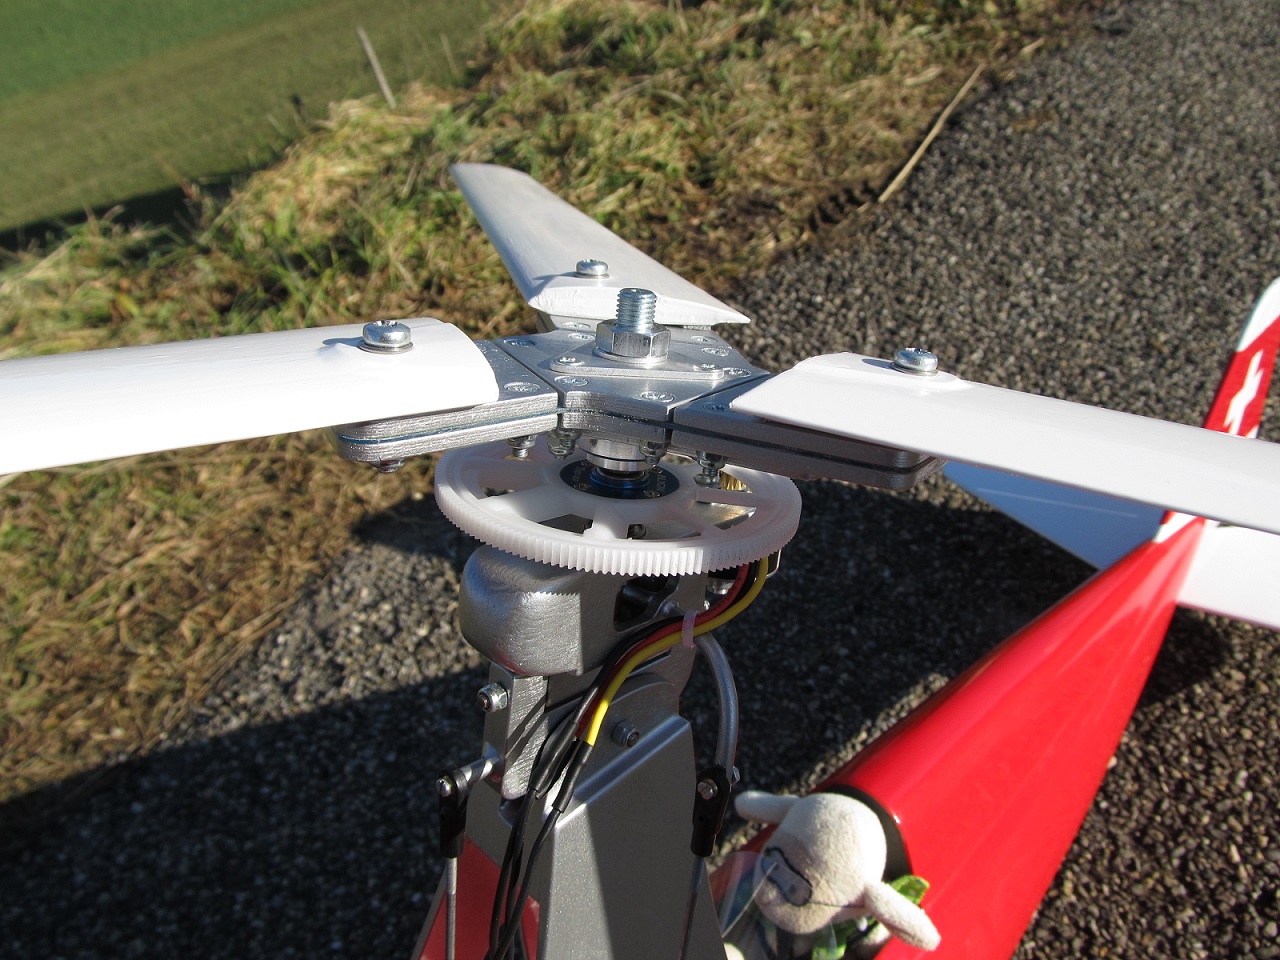
The rotor head with pre-rotator is ready. The main gear with overrunning clutch comes from the T-Rex 450. The motor is running at a bit too high speed but it has more than enough power. The rotor is fit to the rotor shaft with a propeller adapter.
The next thing to do are tests with ground and hand launch. As soon as the conditions match it will start.
Continuation here.


