")
")
Because my autogyro Whopper bit the dust, the now available material shall be used for a new autogyro. I have chosen the Micromum V8, designed by Jochen Köster (aka JochenK), as successor. This model as a two blade rotor and is about the same wheight as the Whopper.

Because I couldn't find the same type of cardan joint for the rotor mast I have to use one of a model boat. Therefore the construction has to be modified accordingly. Additionally a rudder shall be mounted.
The design and the plans are ready:
Now the sourcing of the materials starts. This shouldn't be a big deal because many things are present on stock or will be taken from the Whopper.
Most of the material is there. The construction can start.

The drive train is ready for mounting. "Just" the counterpart is missing.

The mill can start milling soon. The rotorhead is waiting to be mounted.

The airframe which holds all other components together is built up. The rotorhead can be mounted now.

The rotor head has found its place ...

The Micromum is standing on its own legs. Also the linkage of the rotorhead is fixed.

The stabilizers are built up and mounted to the air frame. Kind of looks like an airplane already.

The pilot has taken his seat and is ready for take-off. There is only missing something to generate lift.

Since everything except the rotor is mounted the hang angle and the prop wash compensation can be checked.
The hang angle is the angle difference between the mast and the perpendicular. Therefore the Micromum is hung on the rotor shaft. By moving the battery forth and back this angle is set to 4° top-heavy.
The prop wash compensation is shown very nicely in the post https://www.rcgroups.com/forums/showthread.php?656493-Pusher-Prop-Wash-Compensation#post7087583" by JochenK on www.rcgroups.com. I had to reduce the planned 8.5 mm motor offset to 6.5 mm. Like this the Micromum with my motor and propeller setup is hanging straight on the ropes.
The rotor hub is built up and is waiting for the rotor blades.

The rotor blades slowly assume shape.

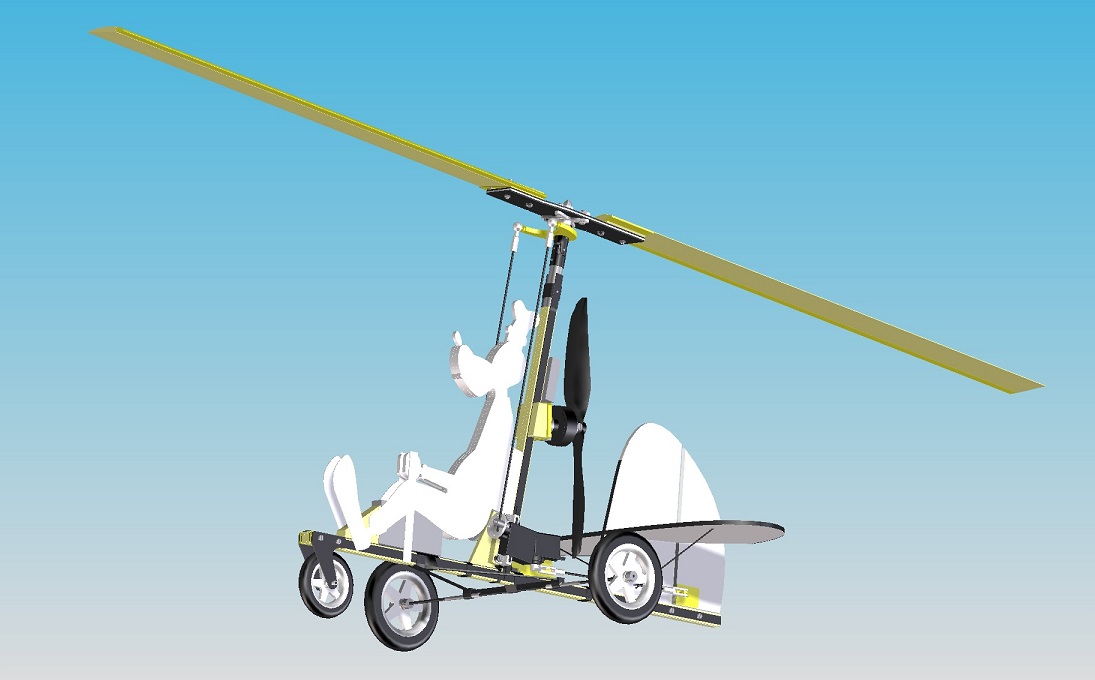
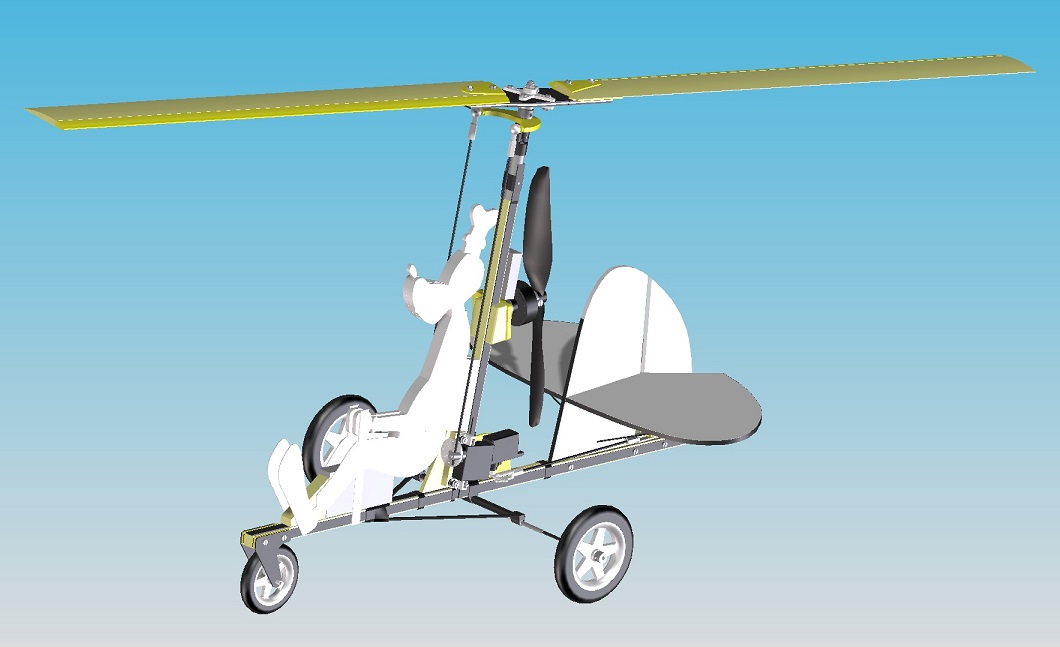
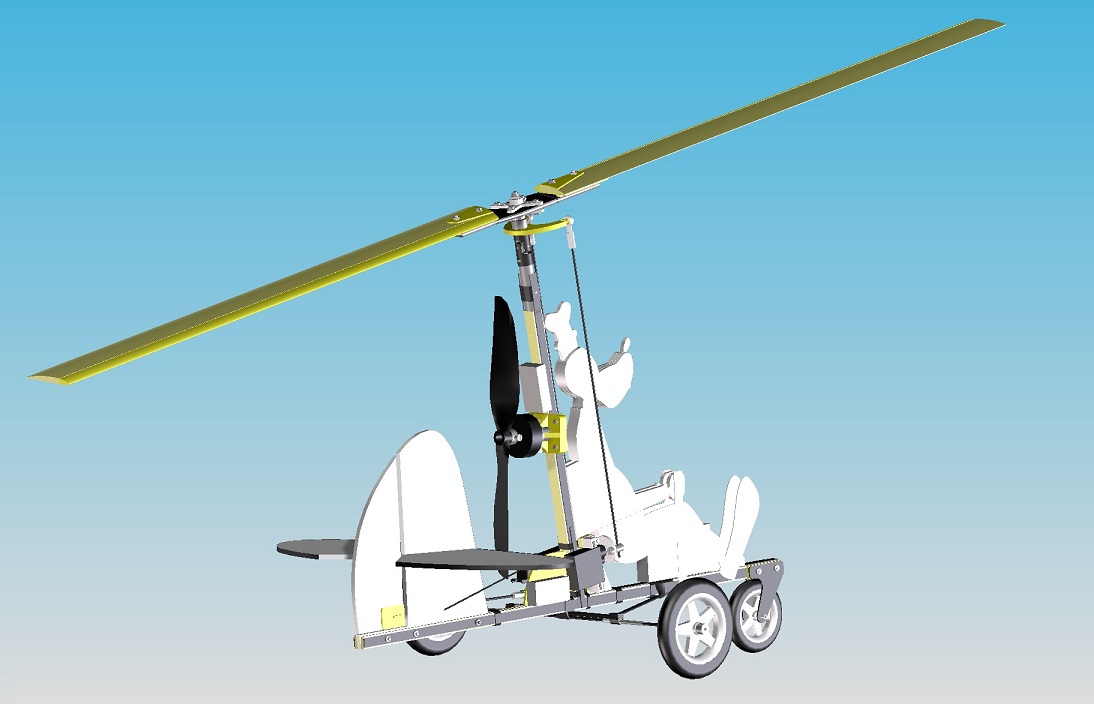
The Micromum is ready finally. Now waiting for maiden flight starts. As soon as the weather conditions match it starts.

An RPM sensor shall monitor the rotor speed in flight. I hope to be able to analyze problem situations with it.

The test flights of the Micromum V8 were not successful. A two blade rotor of this size is really much harder to control than a three blader. That's why the Micromum V8 did never make it to the hangar and can be found on the graveyard now.