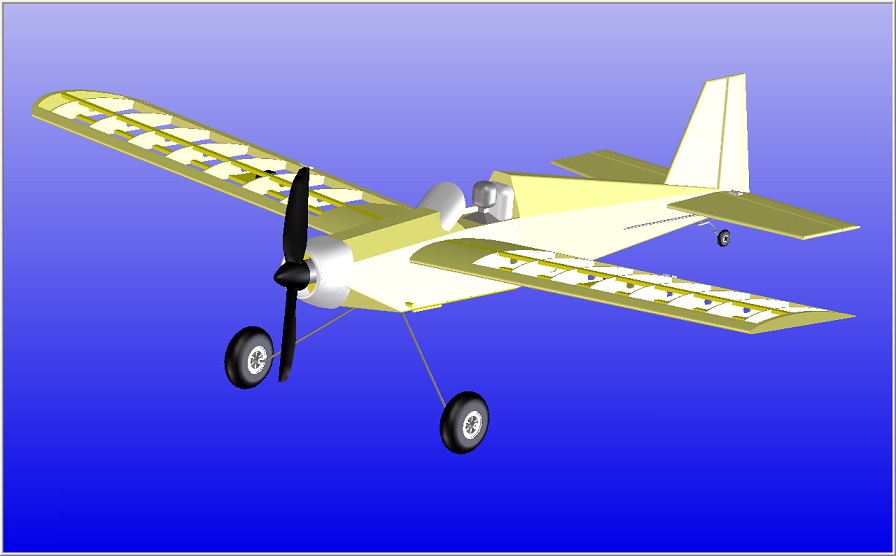
My son Matthew said that he would like to build a radio controlled air plane by his own. From the following requirements this model came out:
- Motor modell
- Simple to build
- Simple to fly
- Low wing or mid-wing air plane
- Nice to appearance
- Pilot!
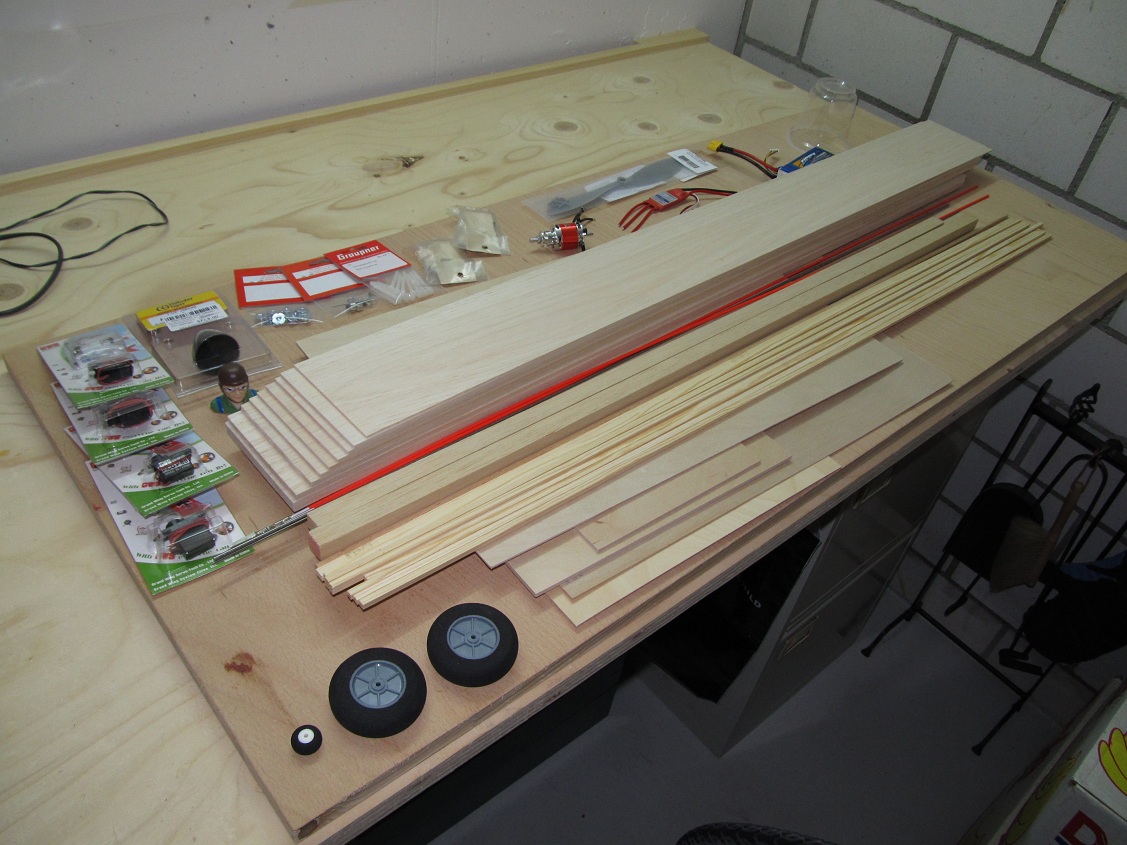
Now it starts. The material is purchased:
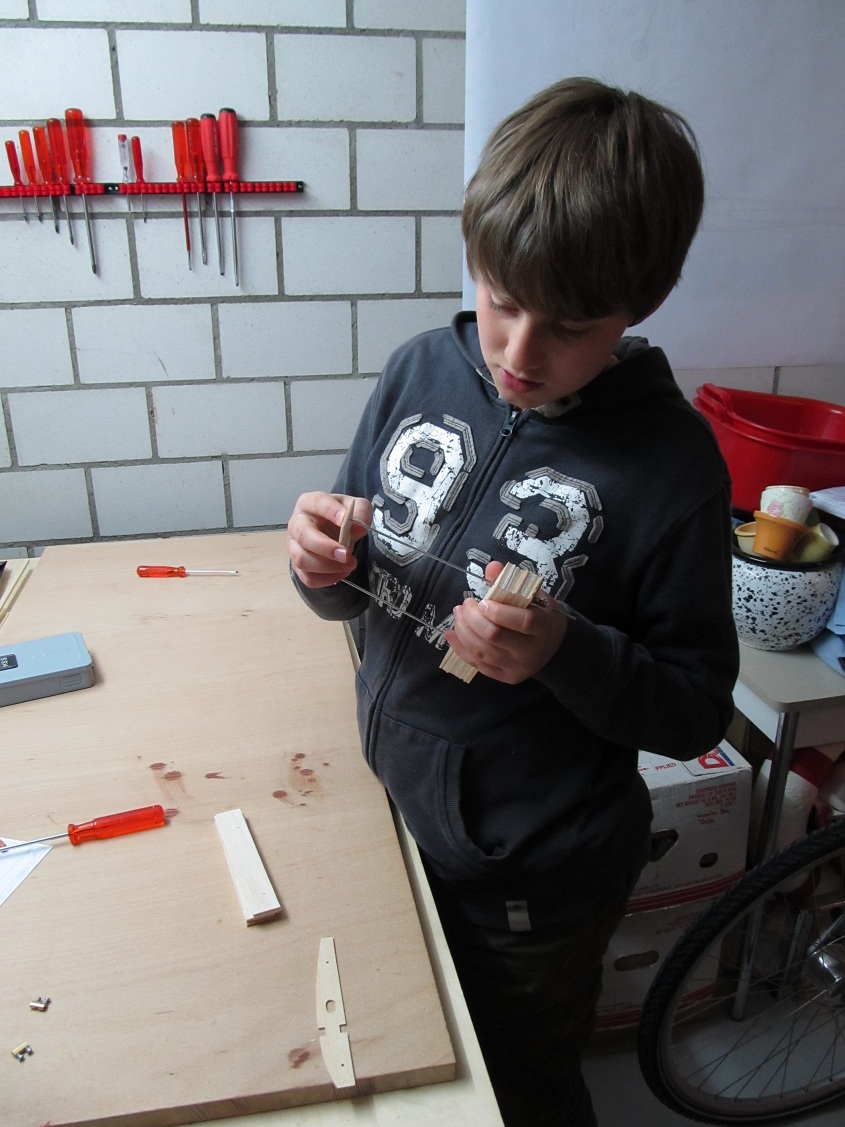
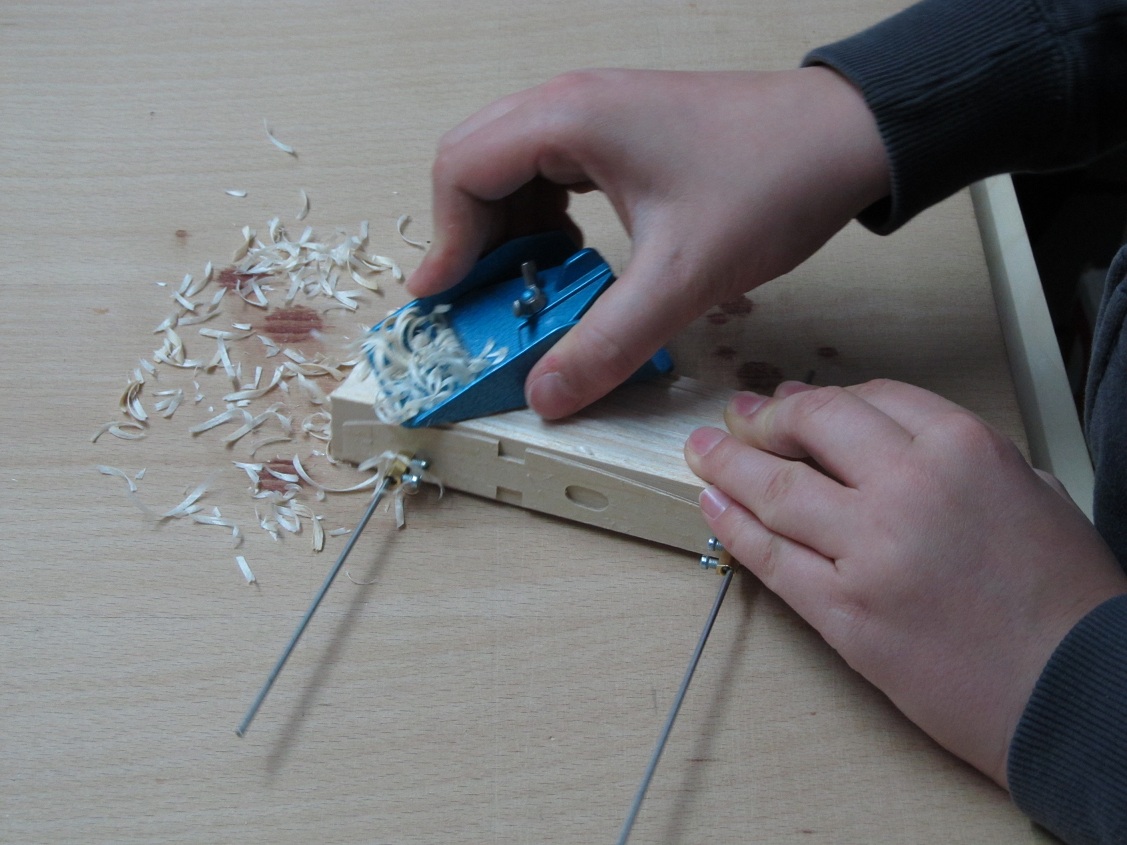
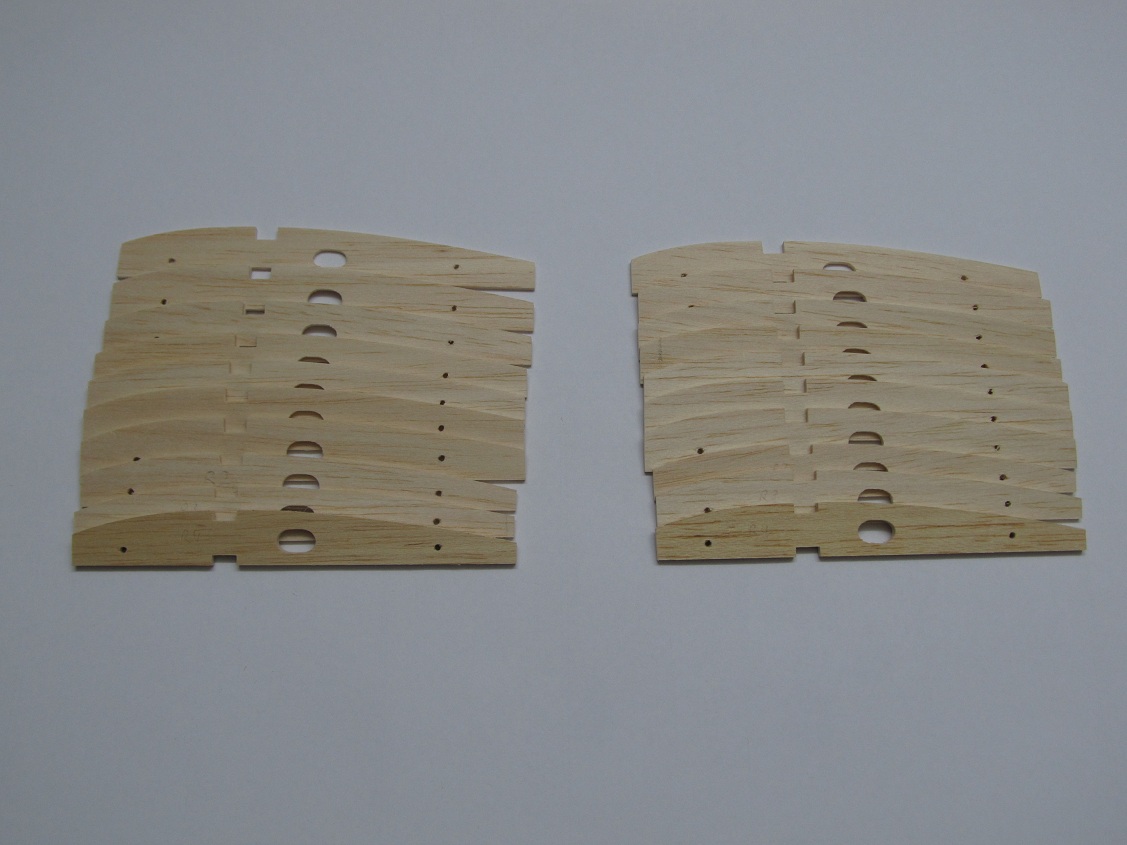
First the ribs are built using the block method:
Here they are:
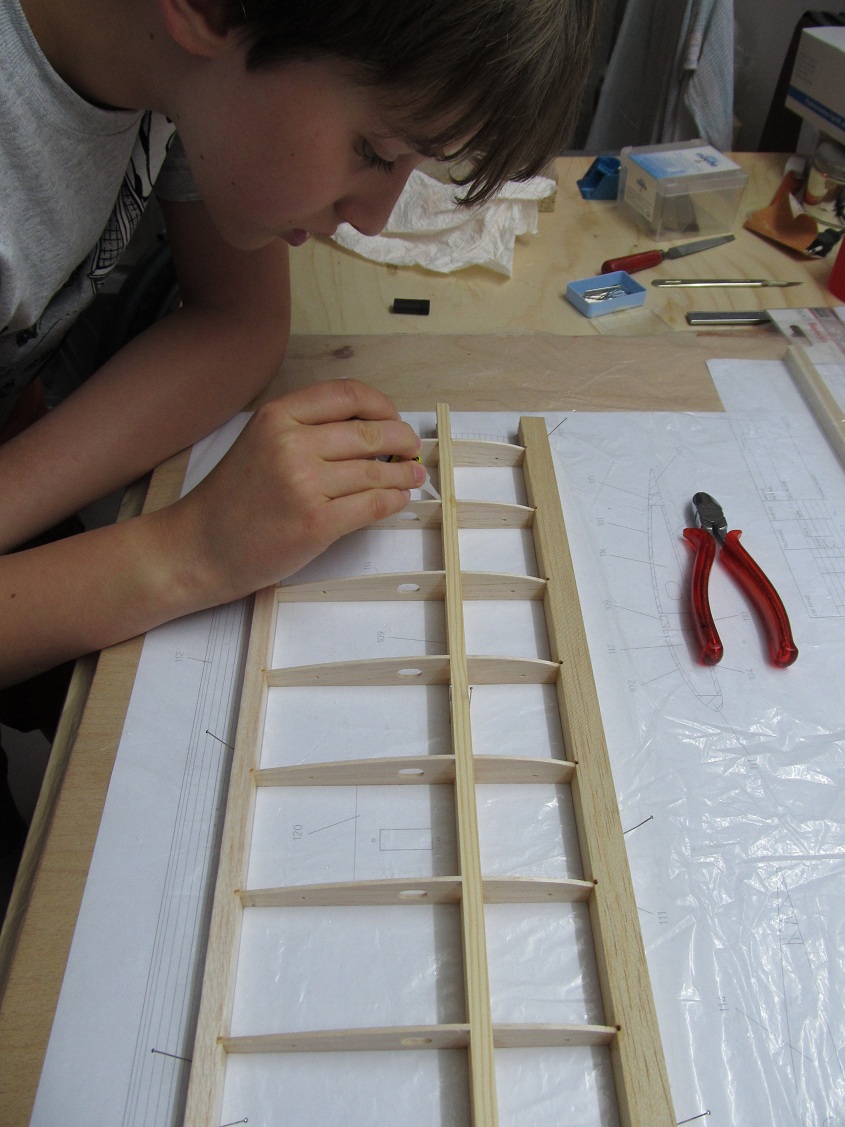
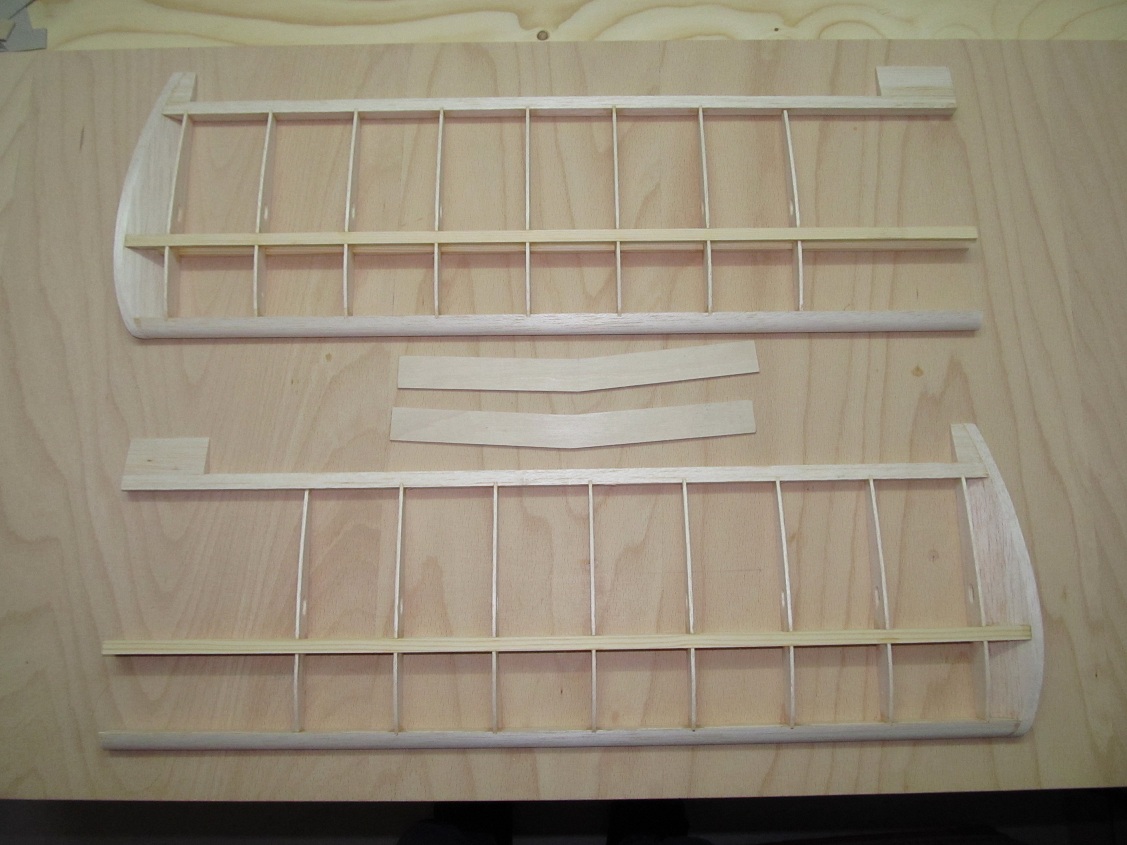
Now the ribs and nose and trailing edge are glued together:
The wings halfs are ready to be joined together:
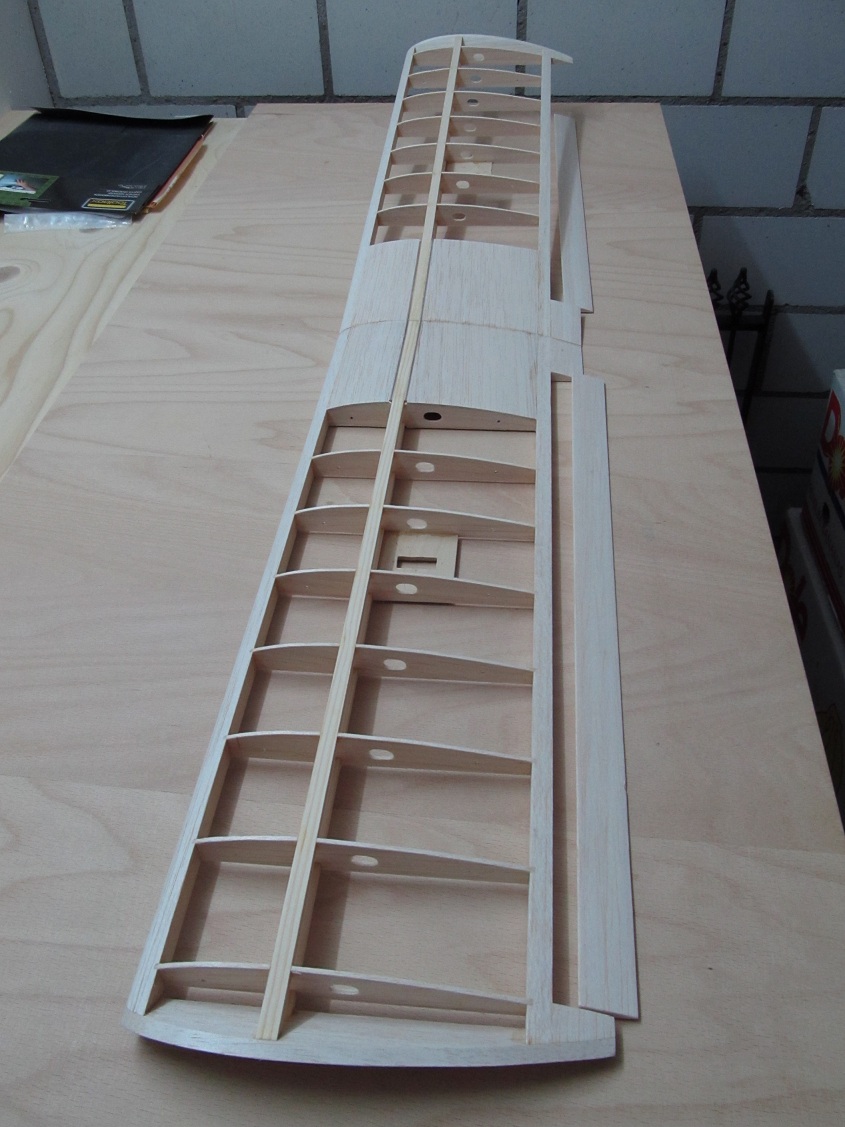
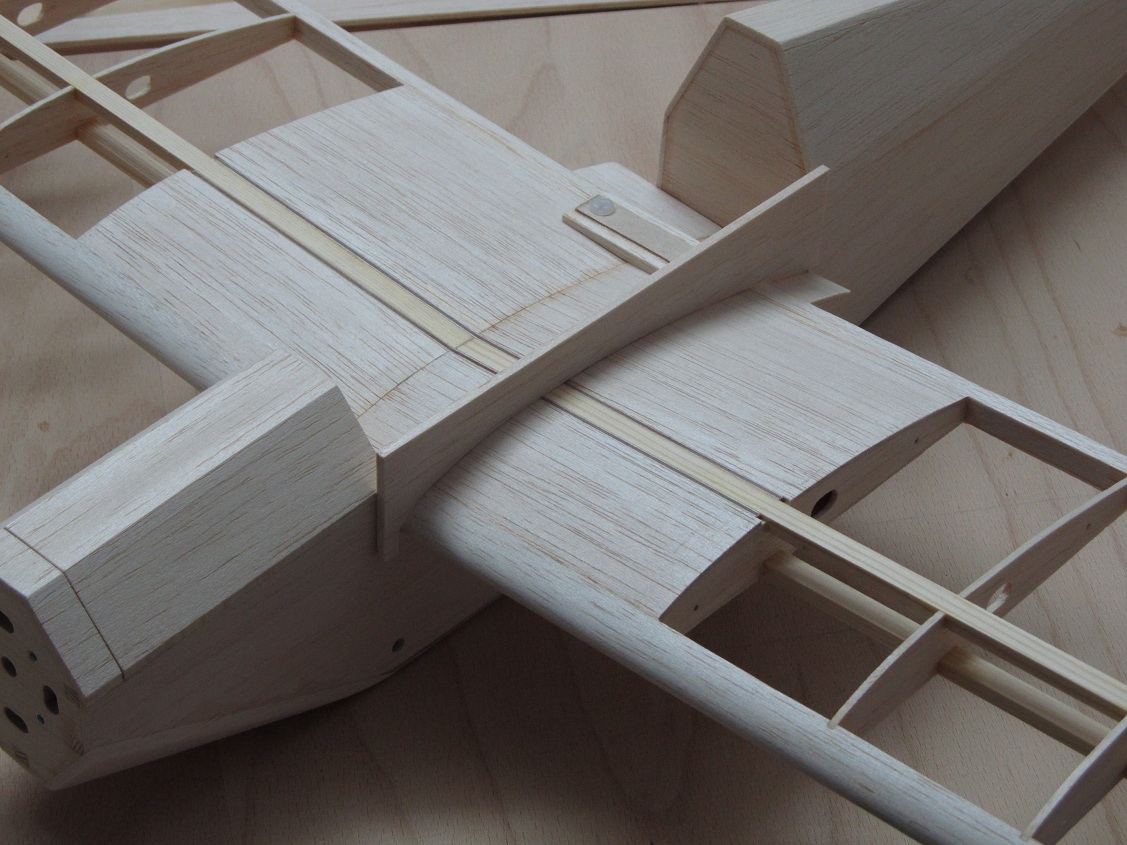
There, the wing and the ailerons are ready in carcass:
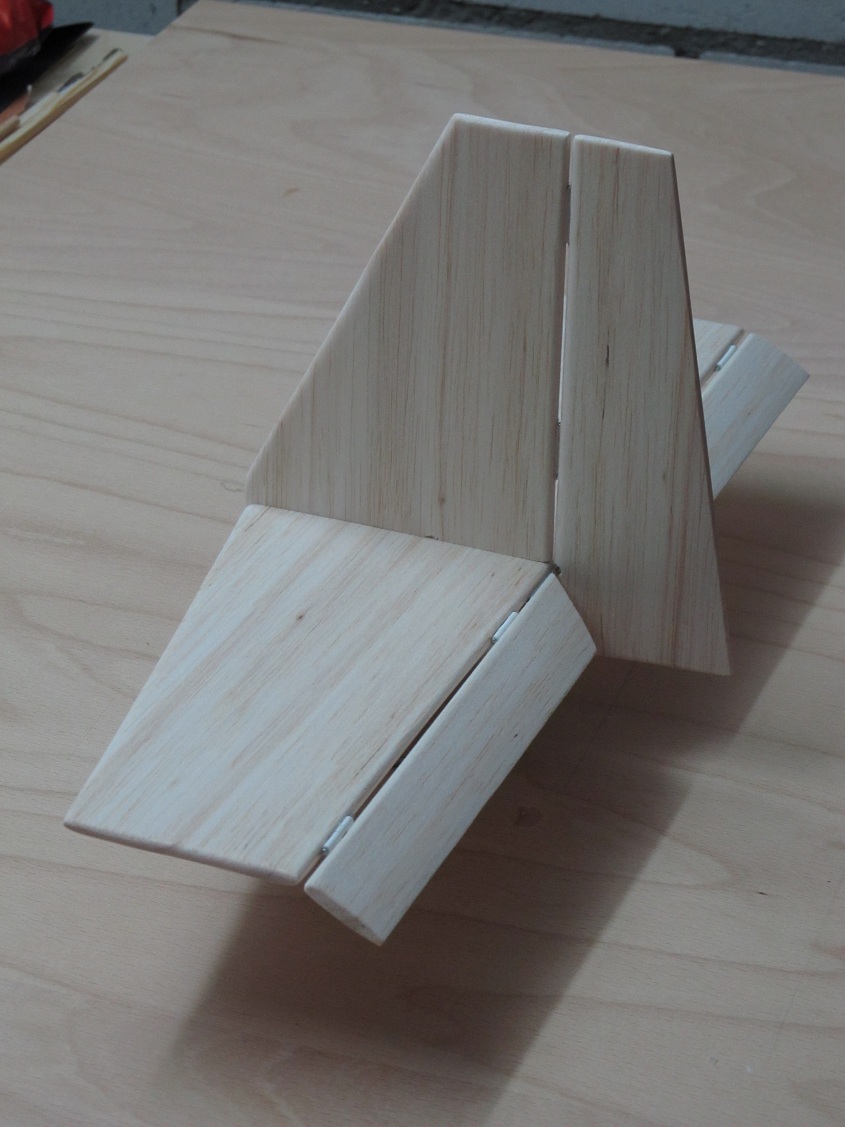
Also the stabilizers are built up now:
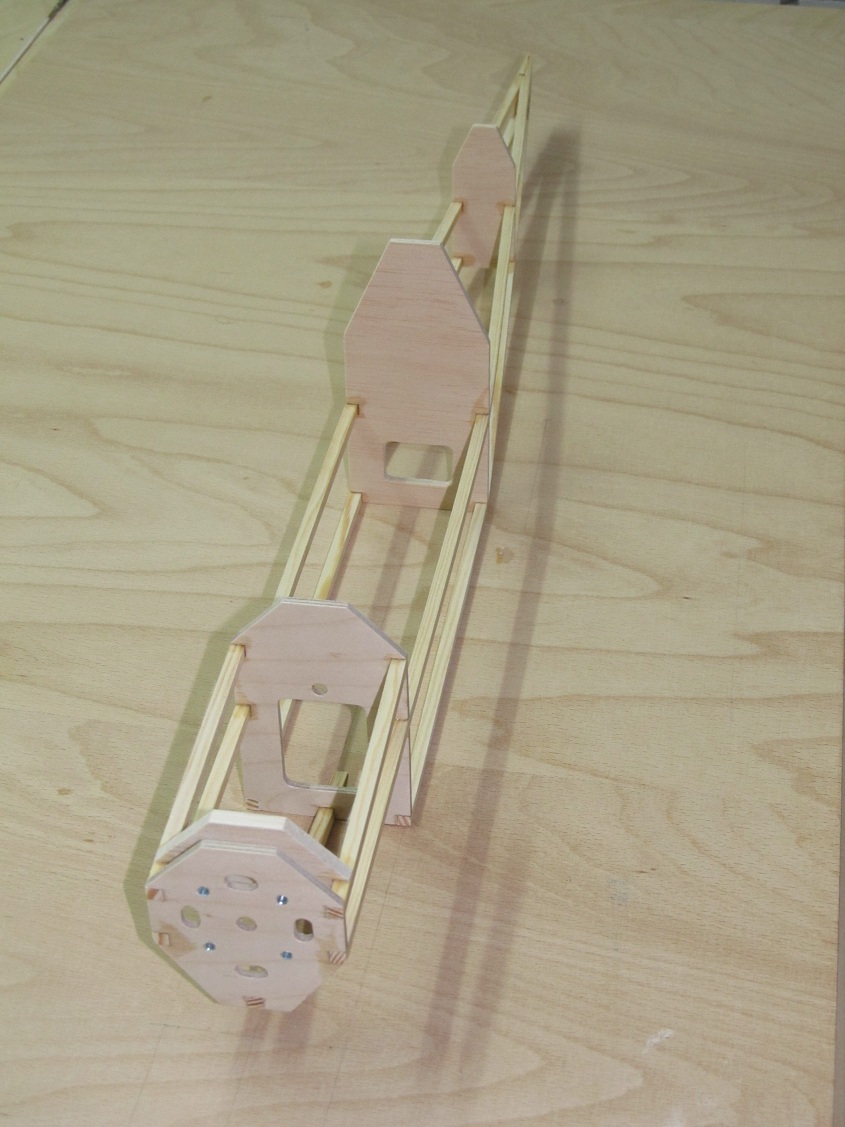
The fuselage assumes shape:
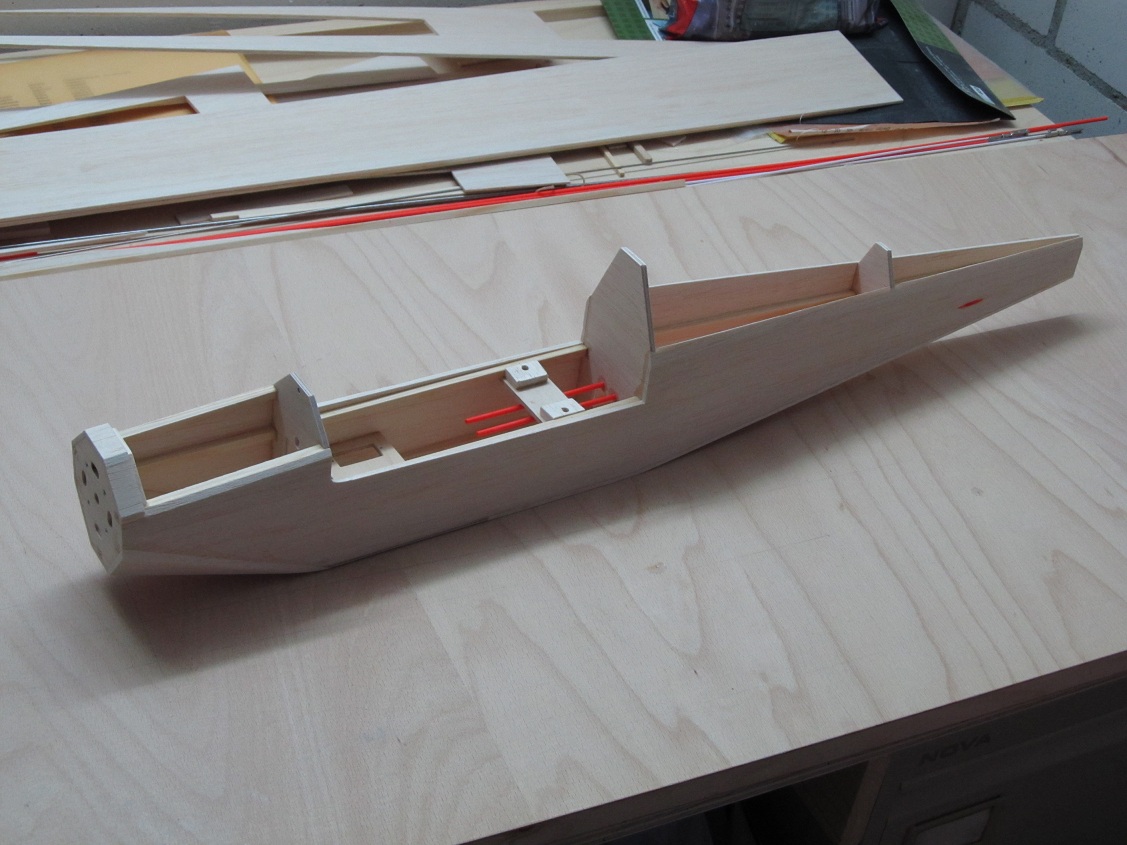
The next step: Side panels and bottom are mounted, servo mountings and bowden cables are prepared.
The fuselage is built so far. The fuselage caps can be trimmed.
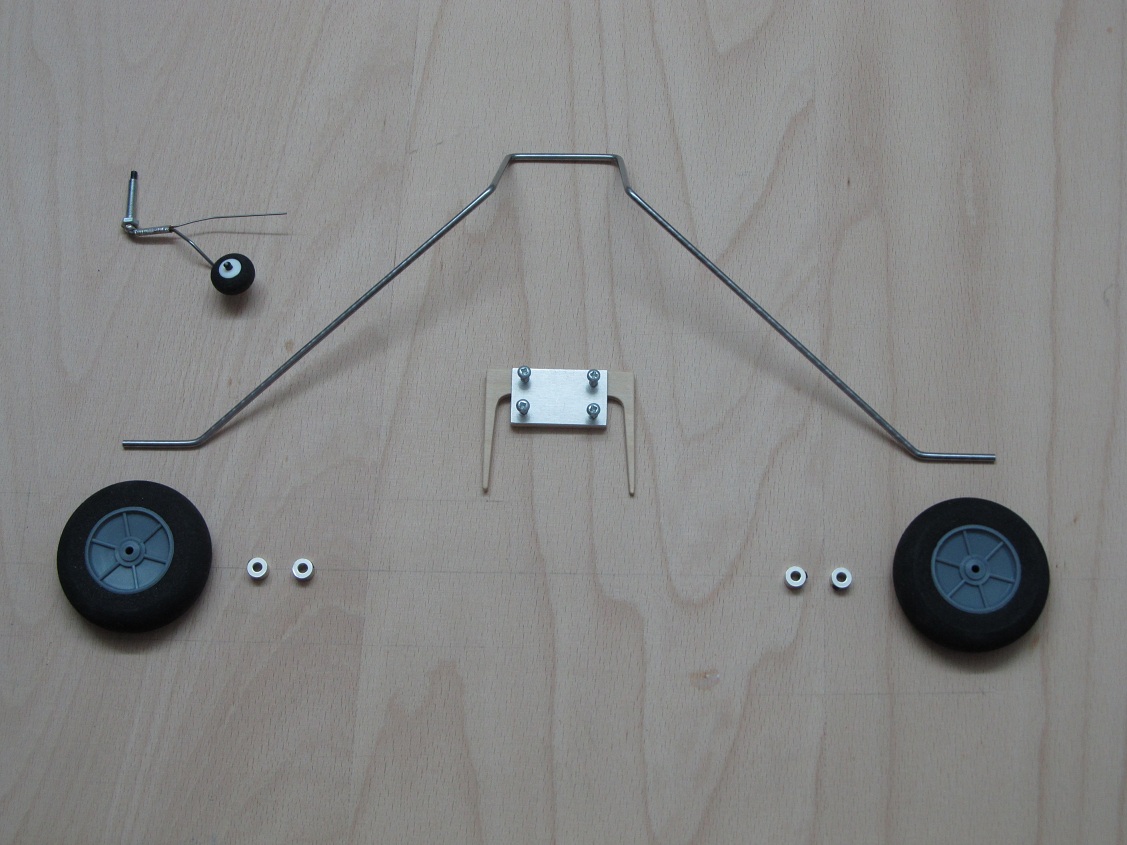
The landing gear is ready for assembly.
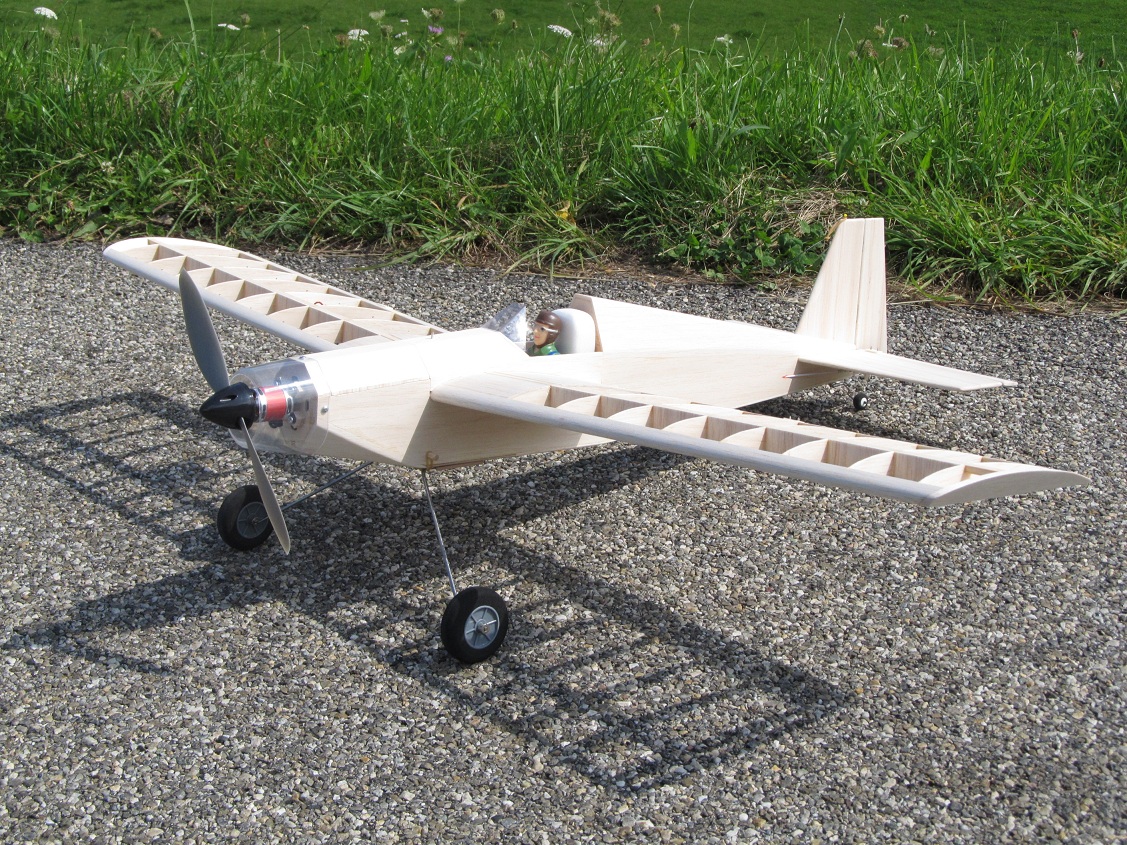
Well, the Bumble Bee is ready in carcass now:
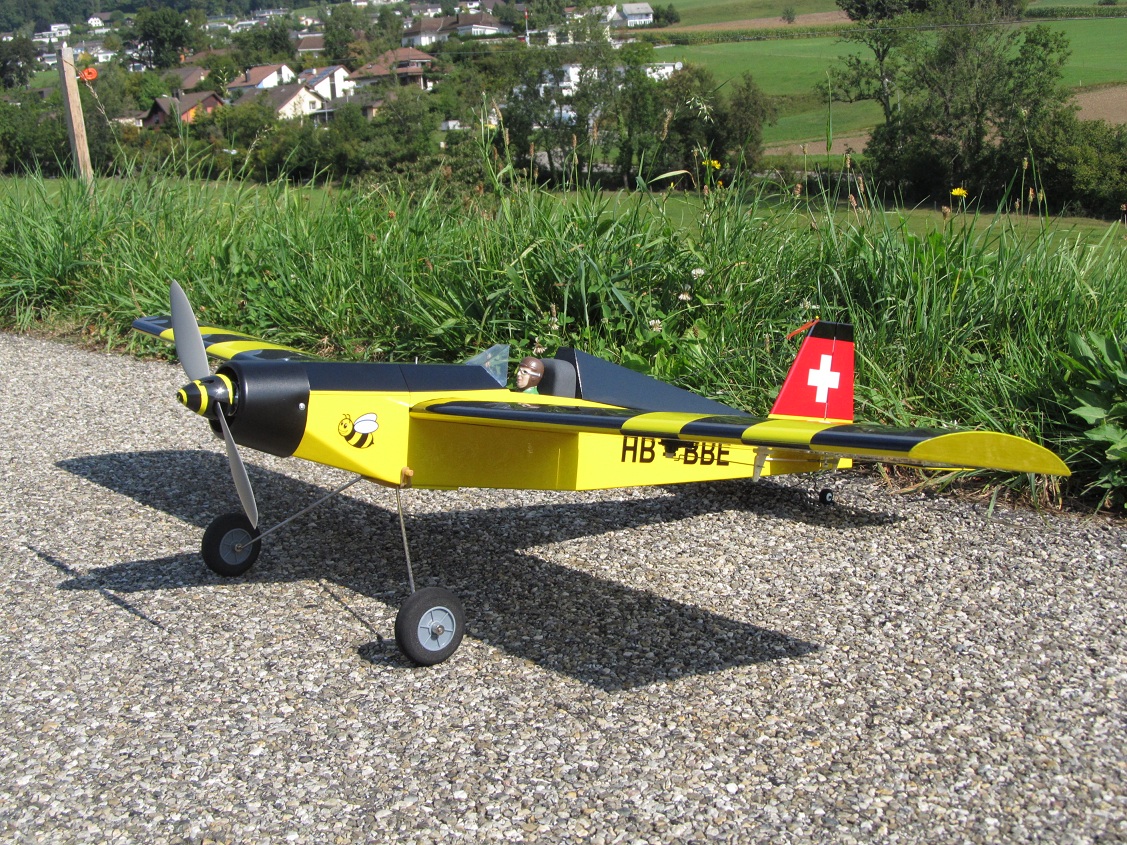
Finally. The finish is done and the machine is ready for maiden flight.
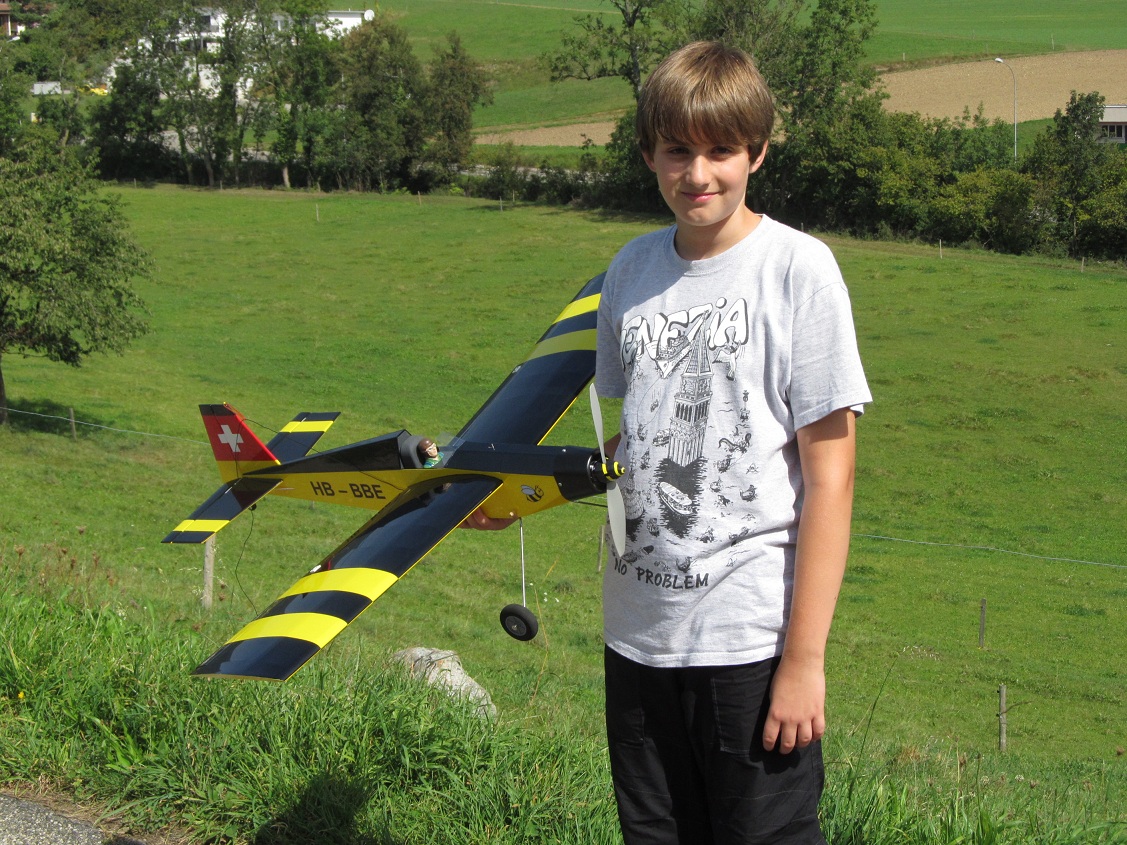
After maiden flight:
Some little corrections have to be done still. Then the training can start. The flight characteristics match the expectations.


